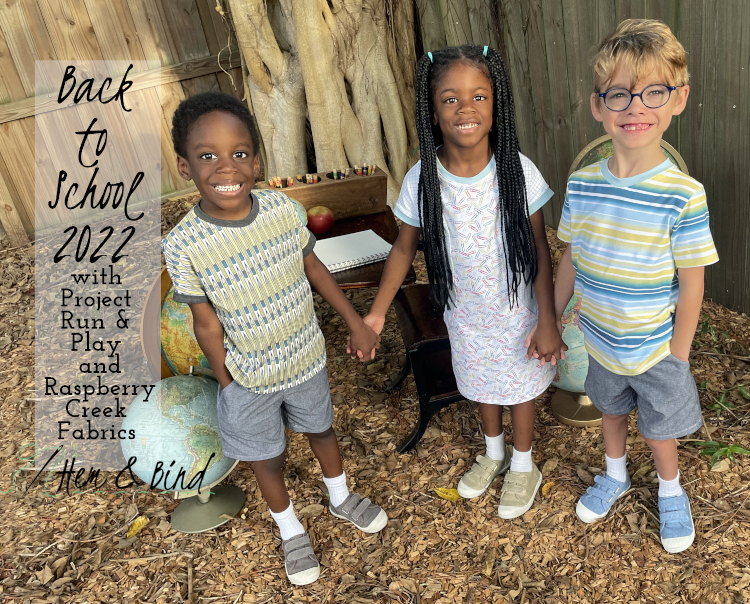
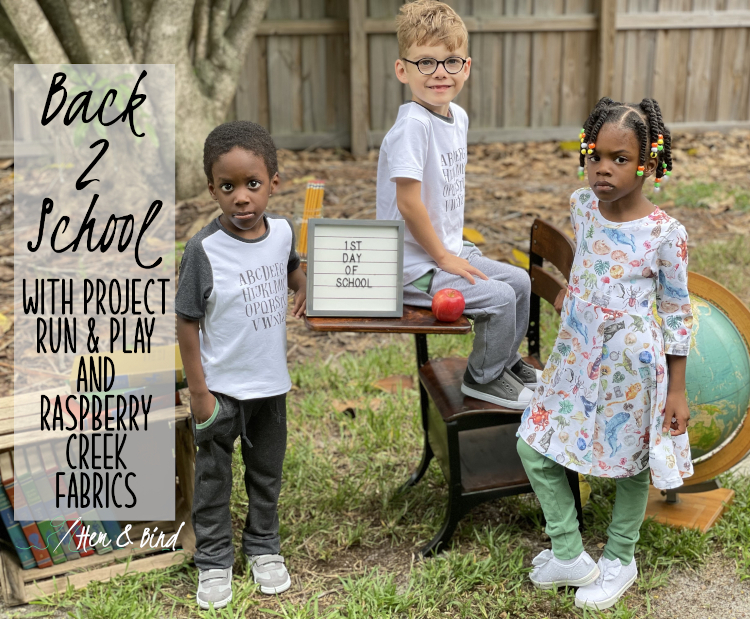
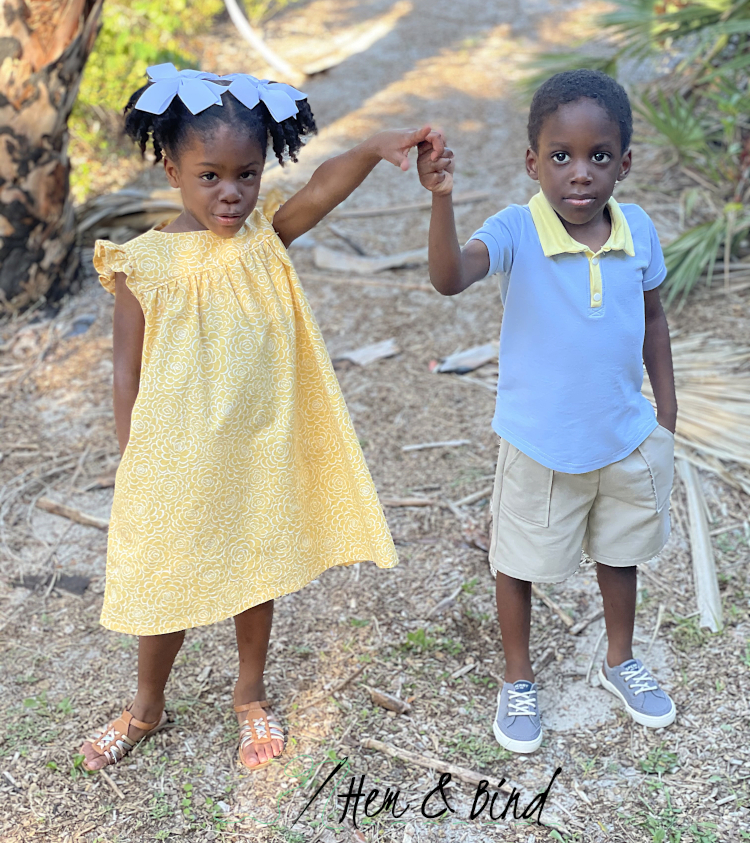
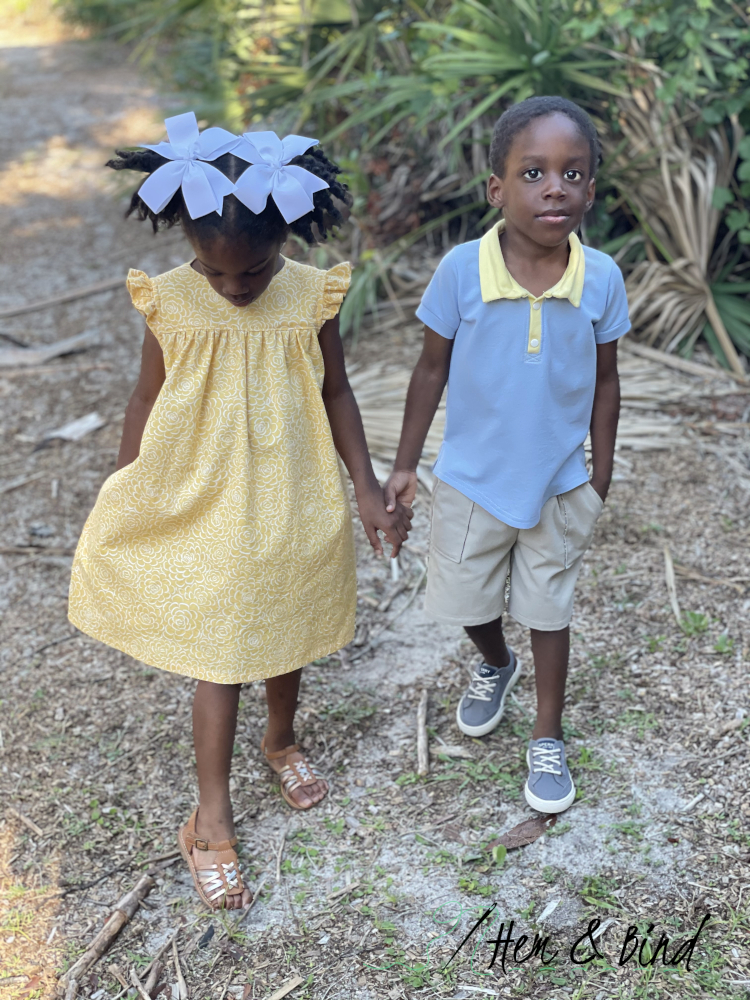
It has become a much-anticipated, annual tradition for me to sew back-to-school clothes for this trio of mine! A huge THANK YOU to Project Run and Play and Boho Fabrics for inviting me to join in this year’s Back-to-School event. It’s amazing to see how much these kids have grown over the years!
Because we’re homeschoolers and often exploring and learning out in the world, simple, comfortable clothes are favorites around here. “Simple” means quick-to-sew, too, and that’s a huge bonus if you’re as busy as me! 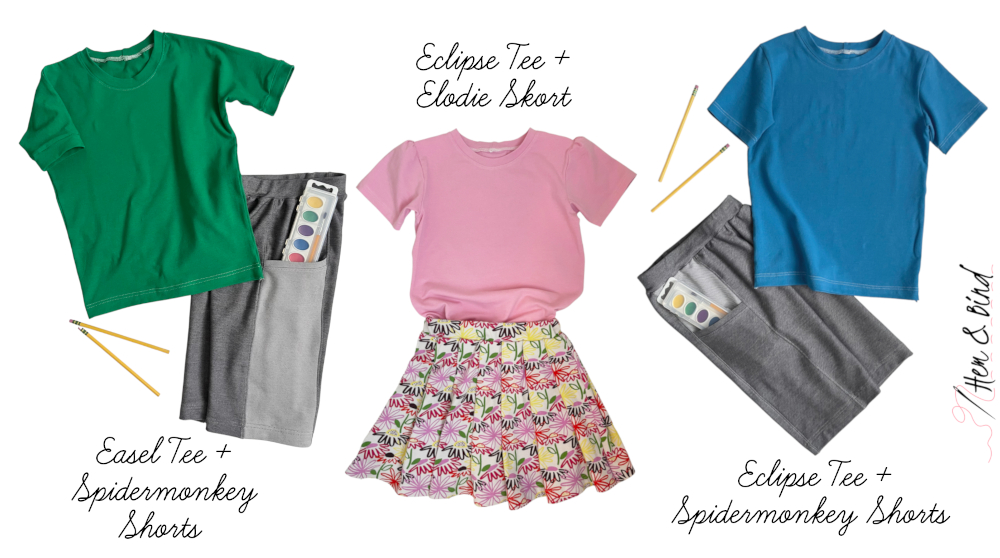
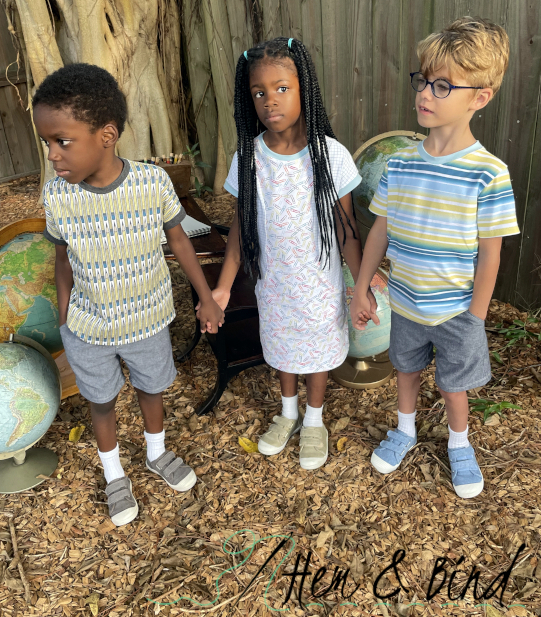
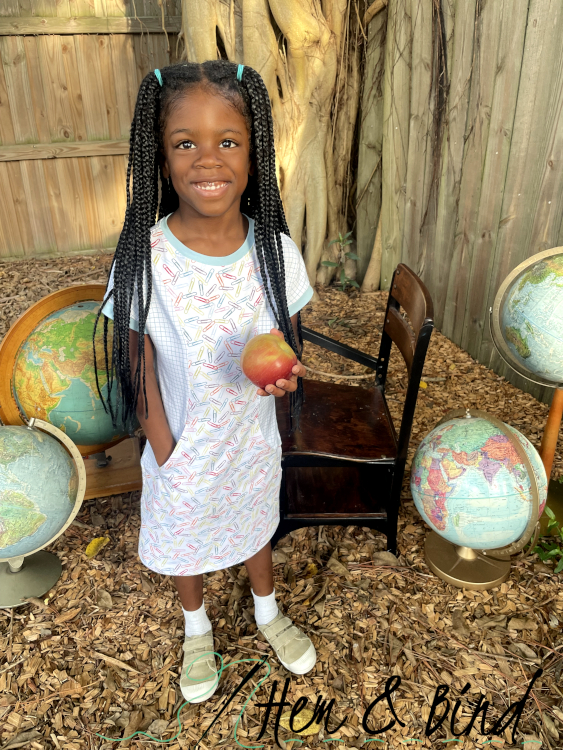
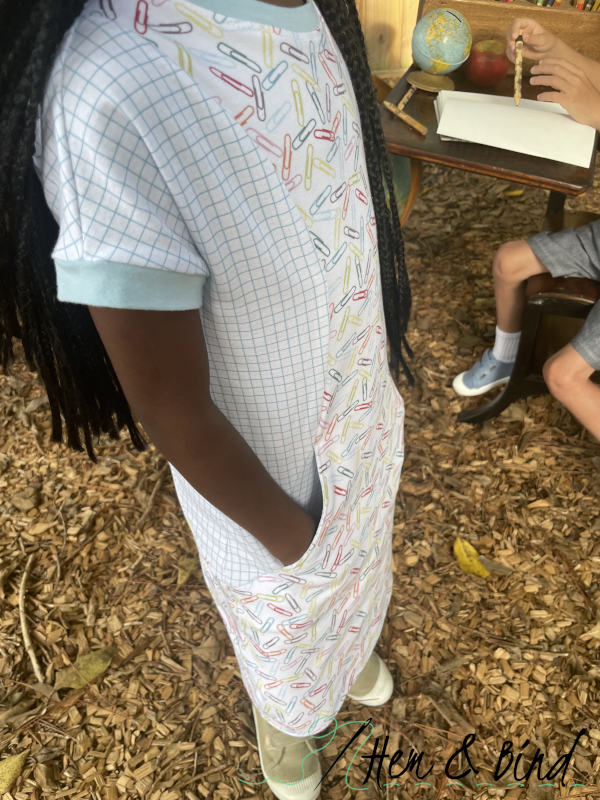
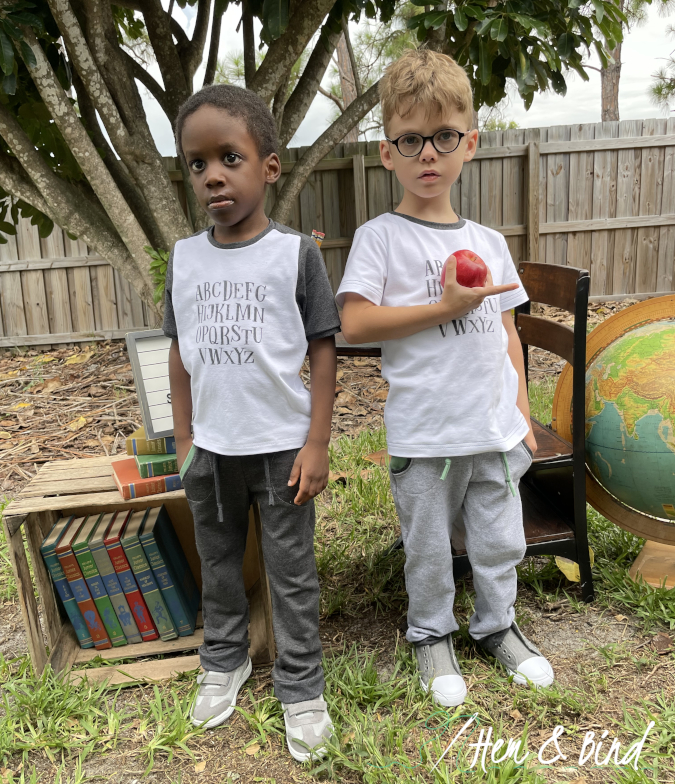
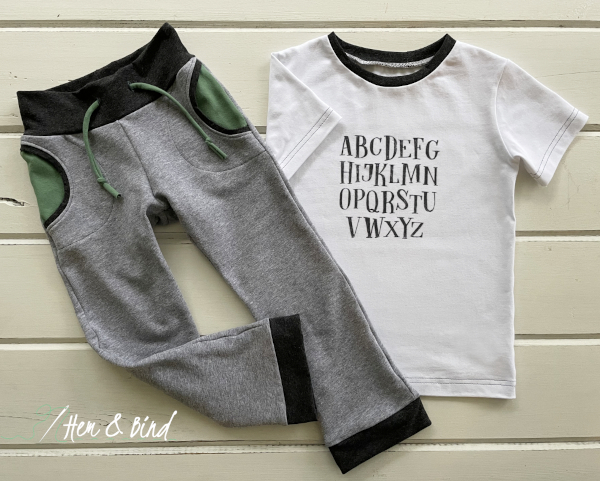
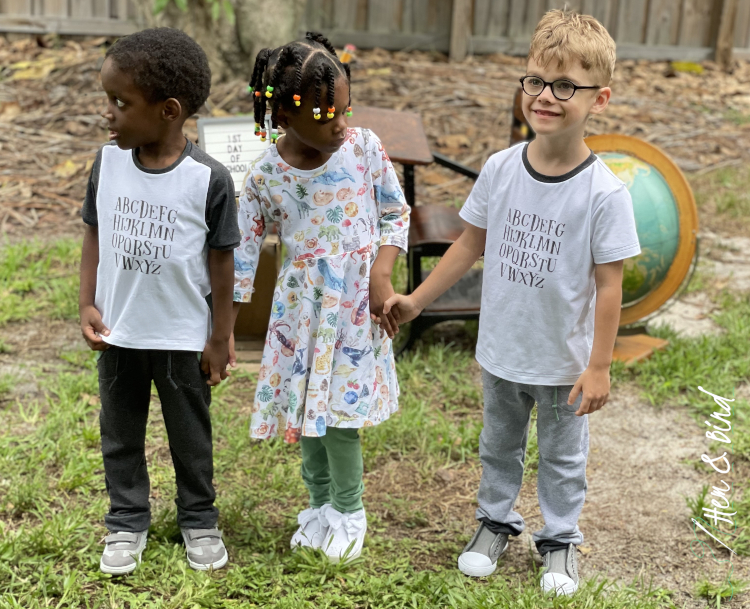
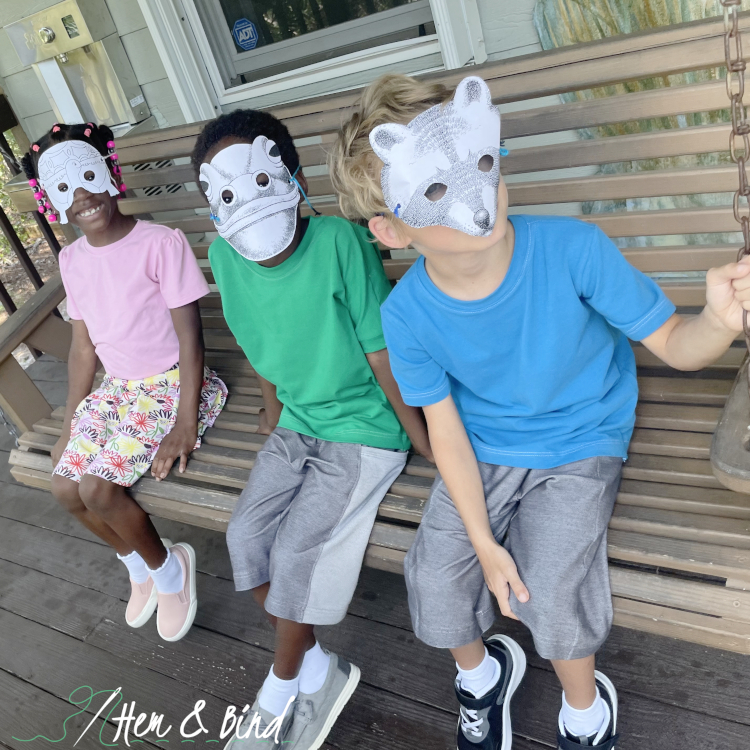
We chose solid tees and knit bottoms and added some interest with a print fabric for Wonder Girl and some really cool pockets for her brothers.
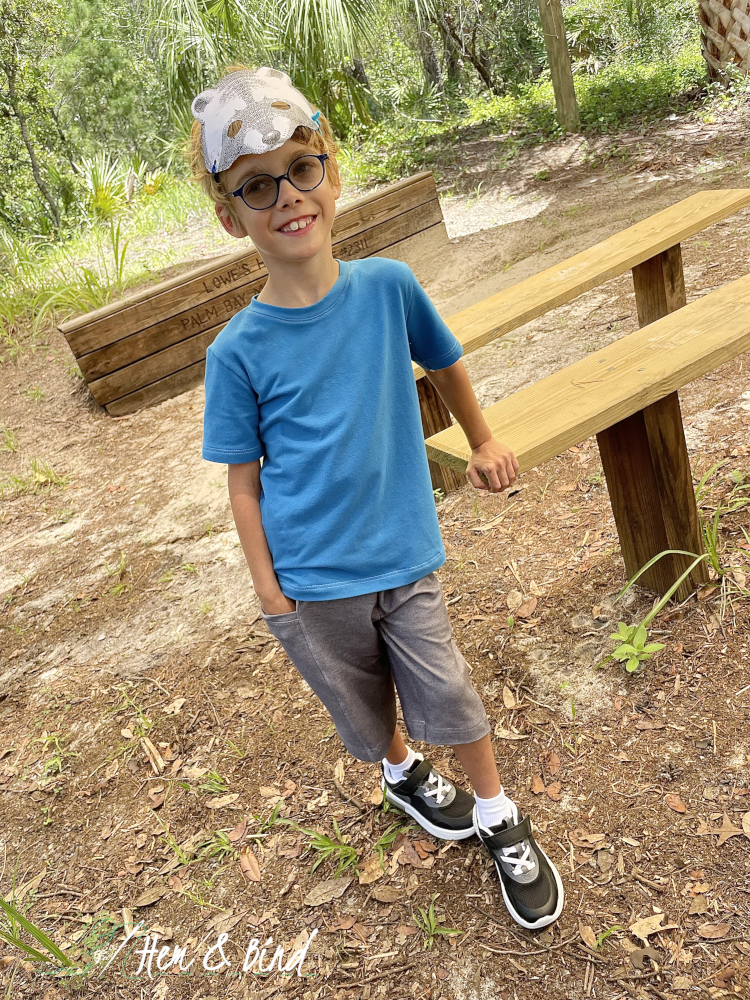
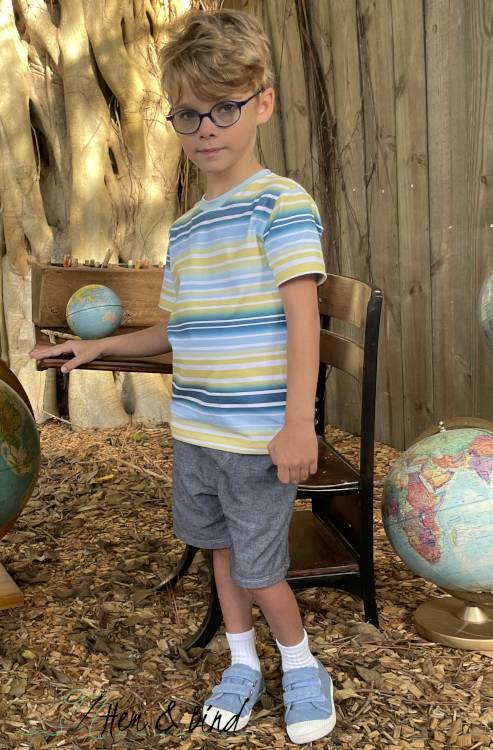
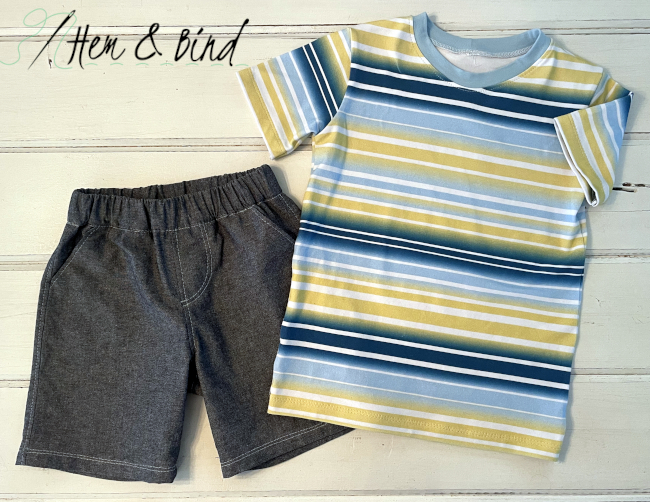
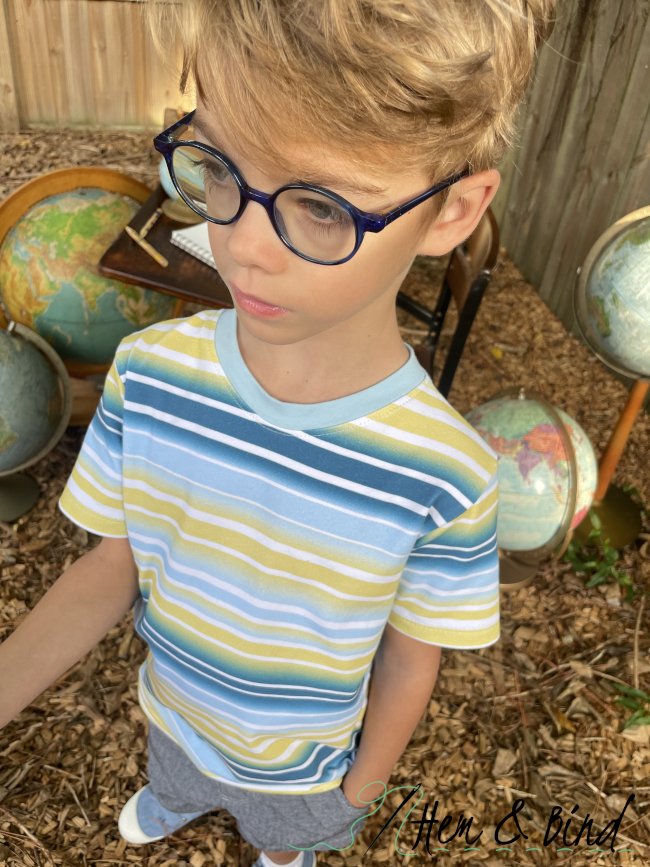
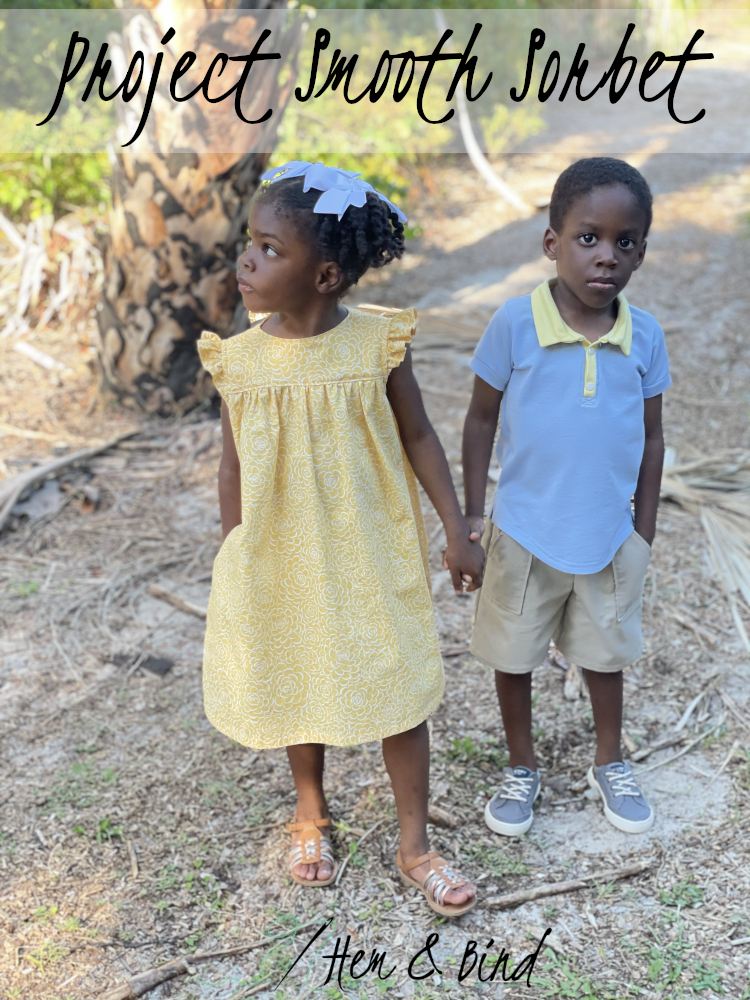
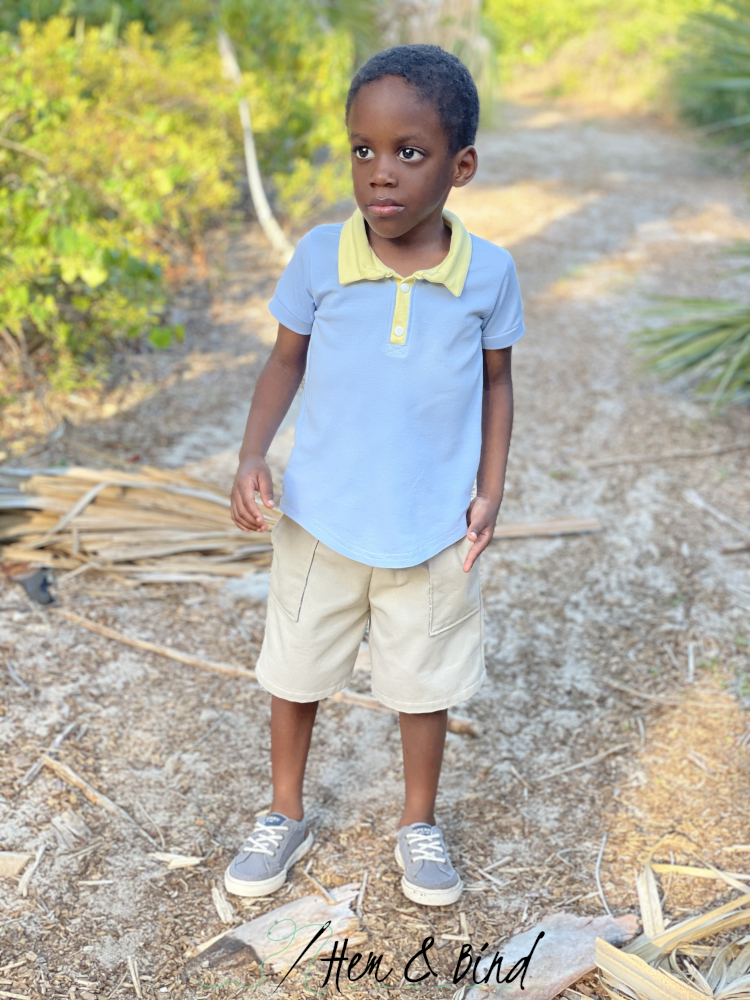
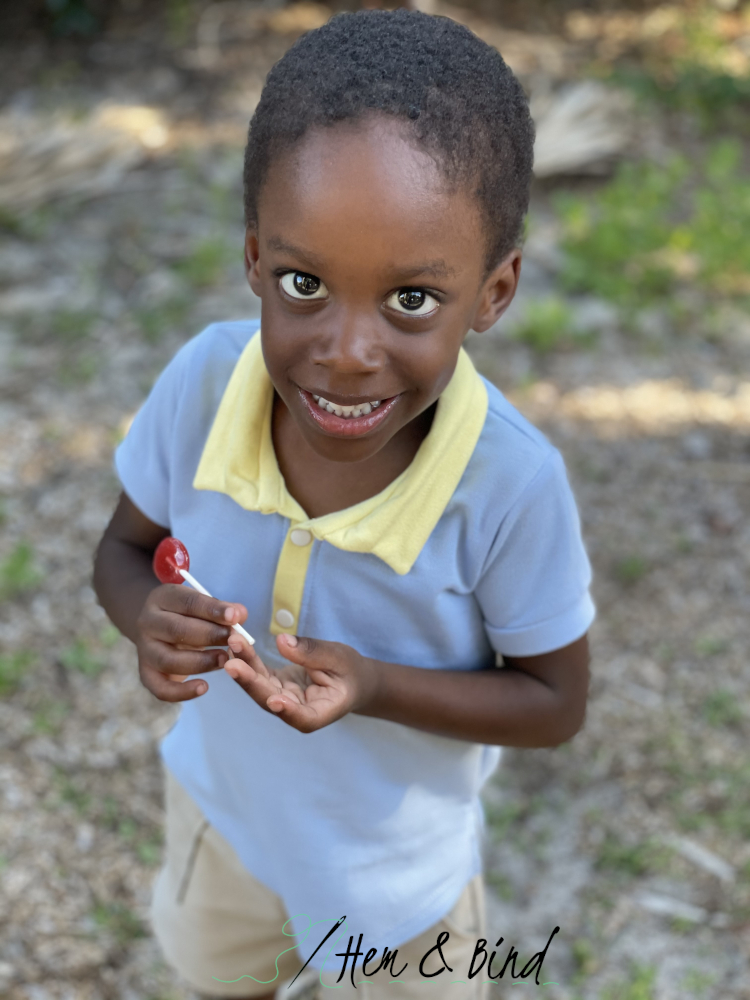
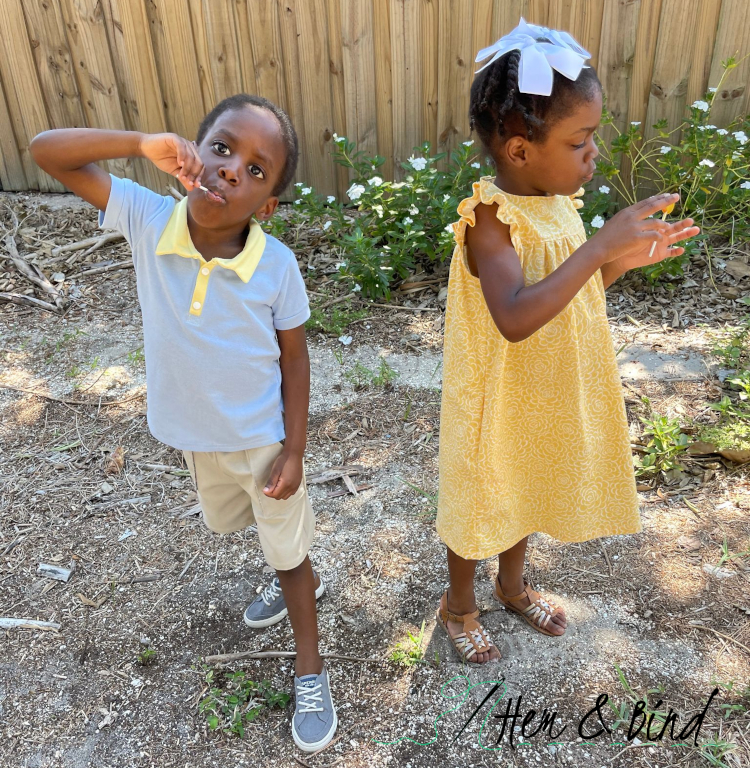
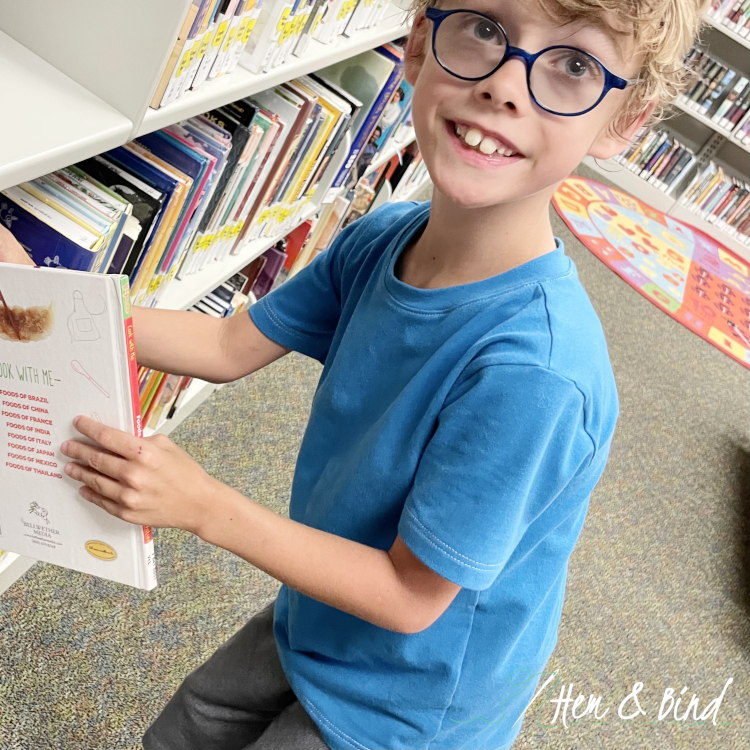
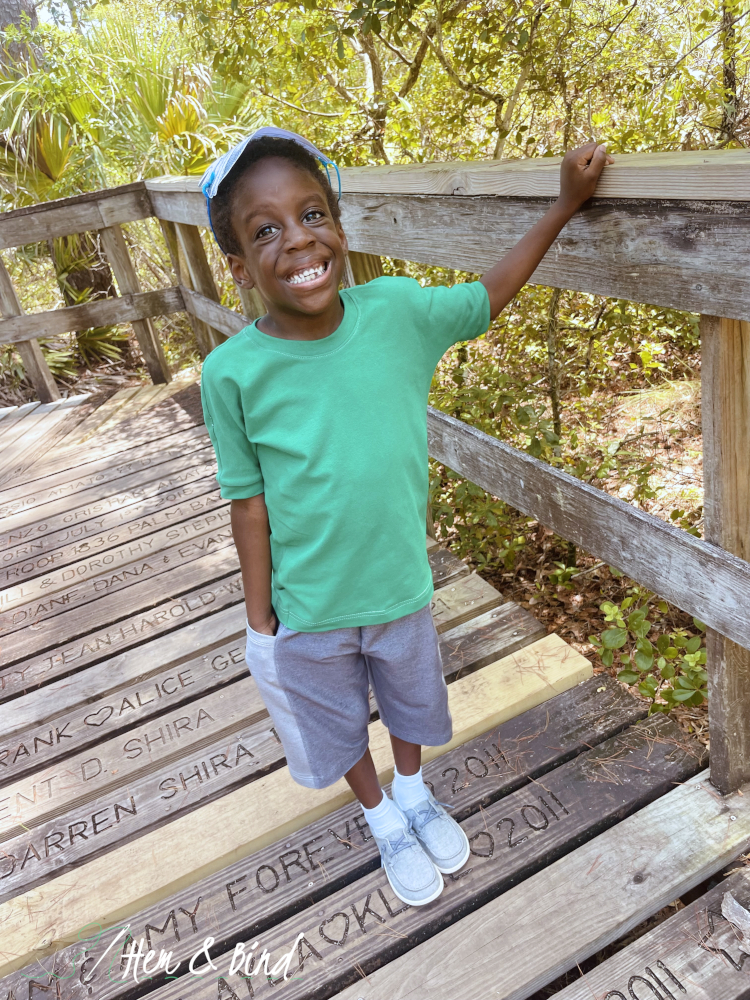
Flash, here, is moving into second grade in style with an Eclipse Tee made from French Blue Cotton/Spandex Knit.
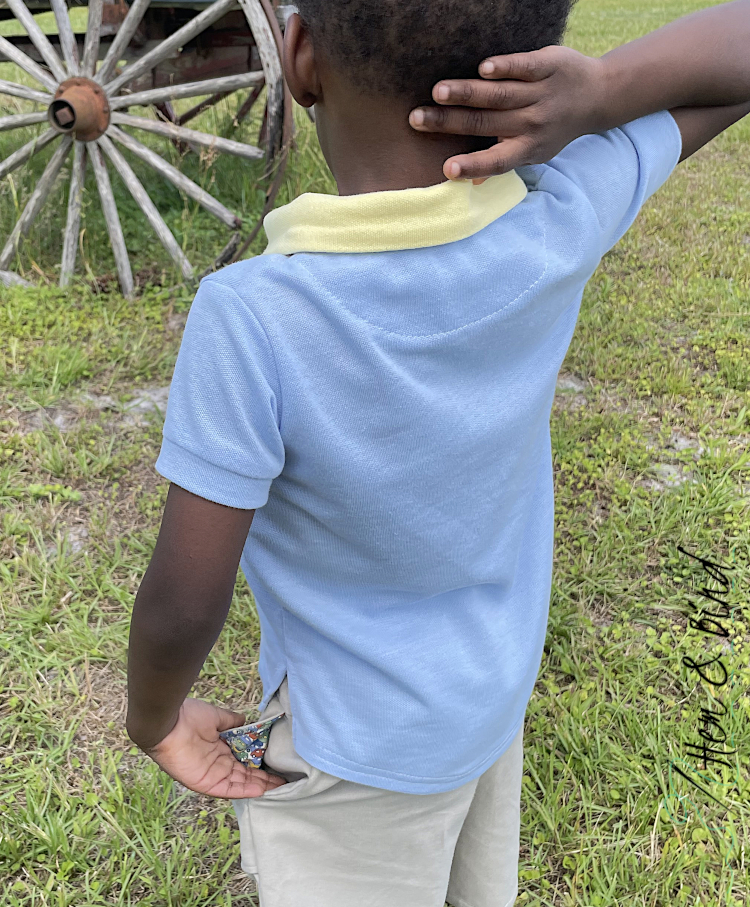
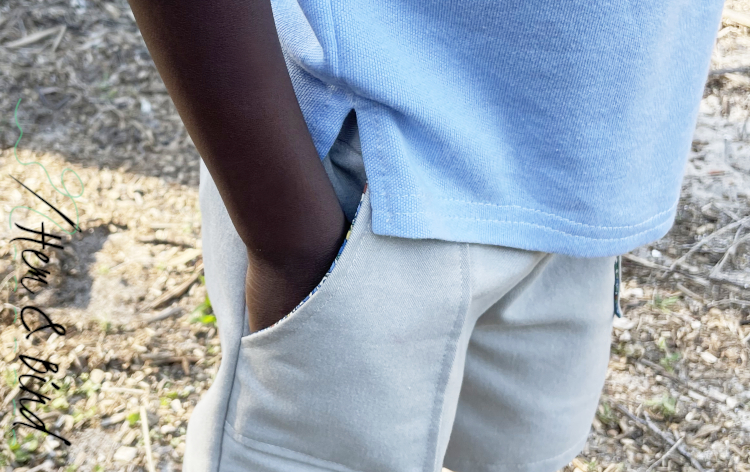
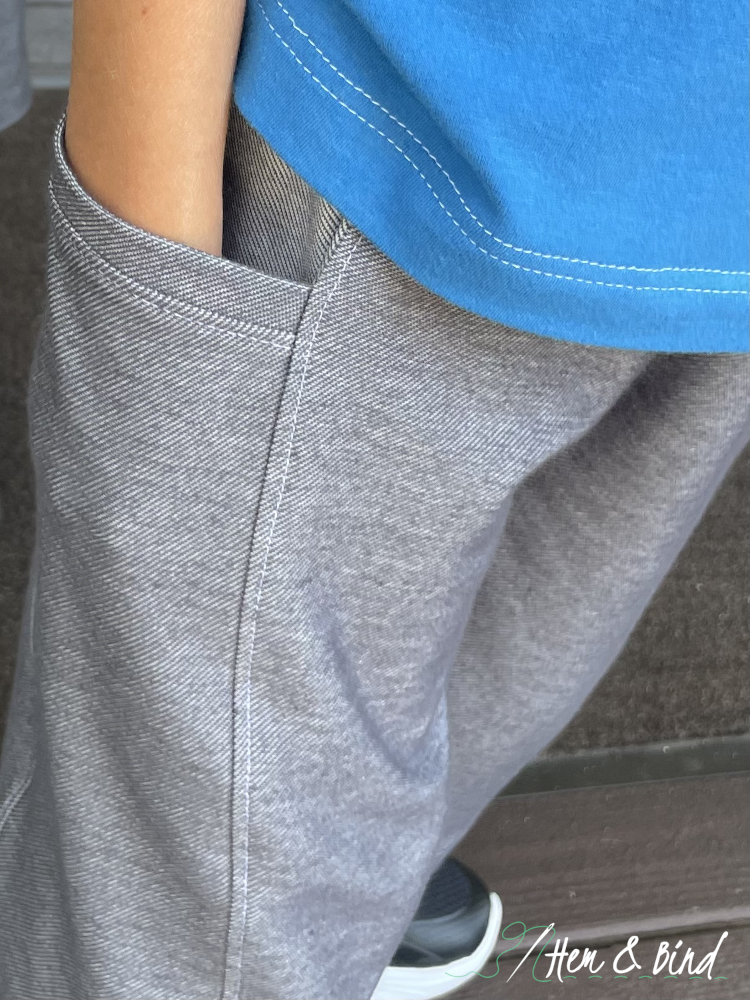
And, his Abby’s Spidermonkey Shorts in Gray Stretch Denim just might be the envy of every one of his friends! You can fit a lot of treasures in those pockets!
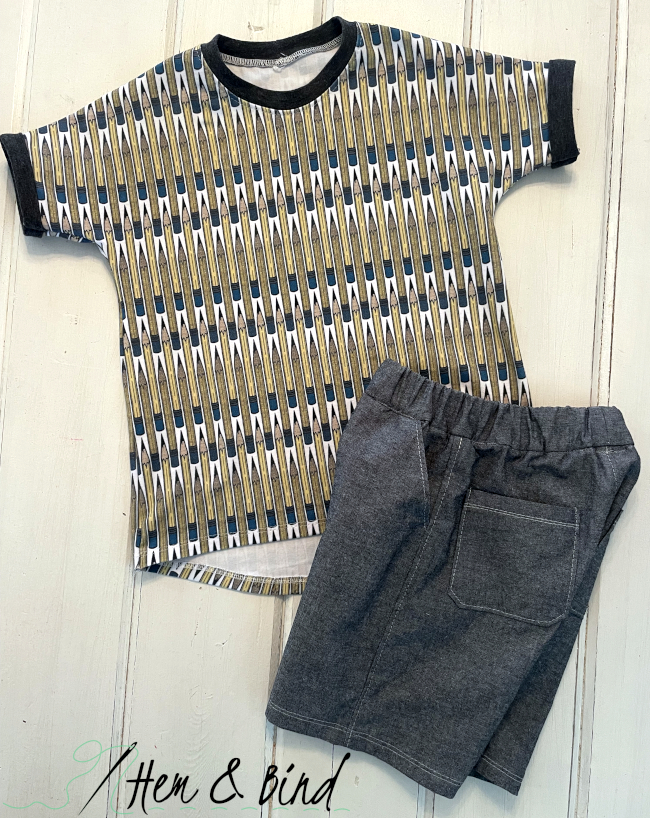
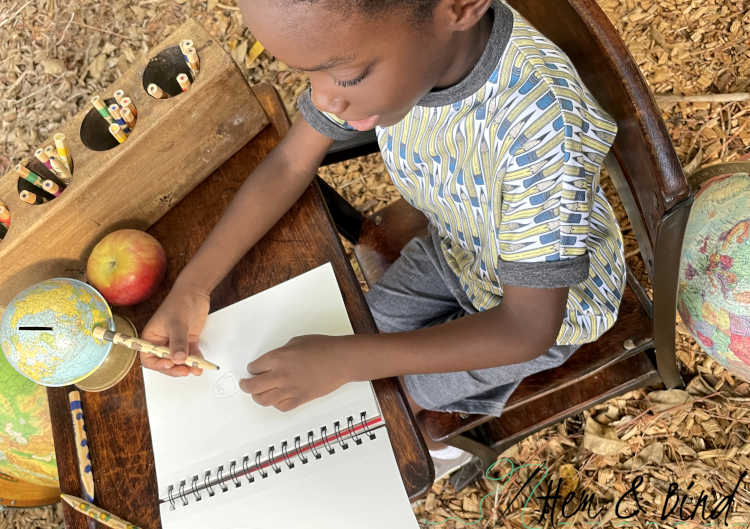
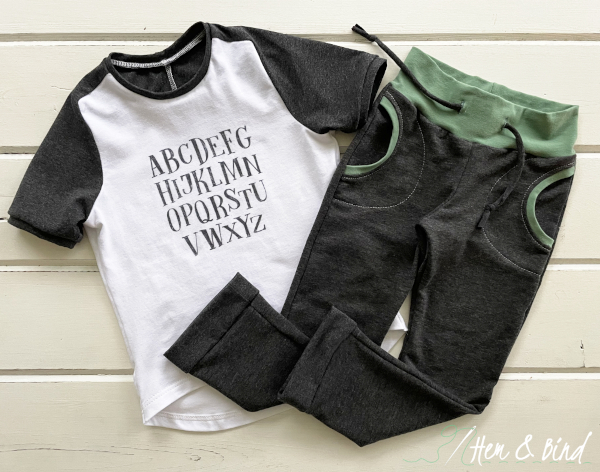
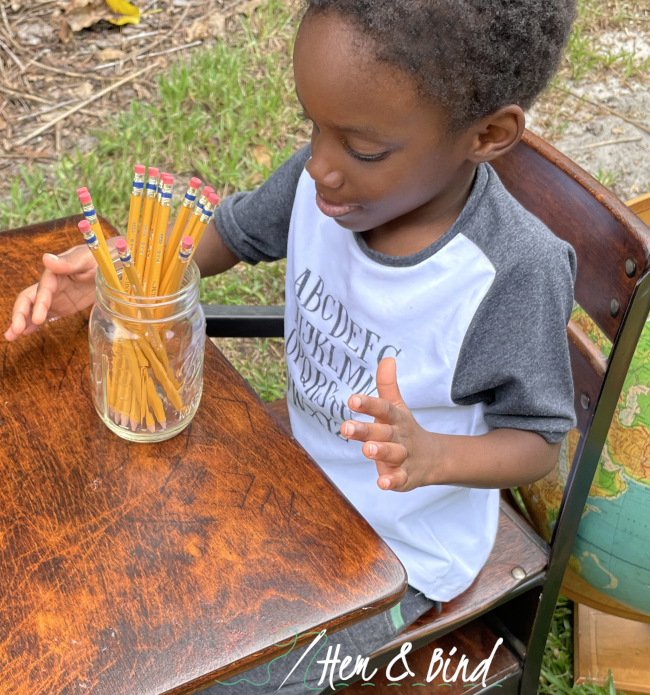
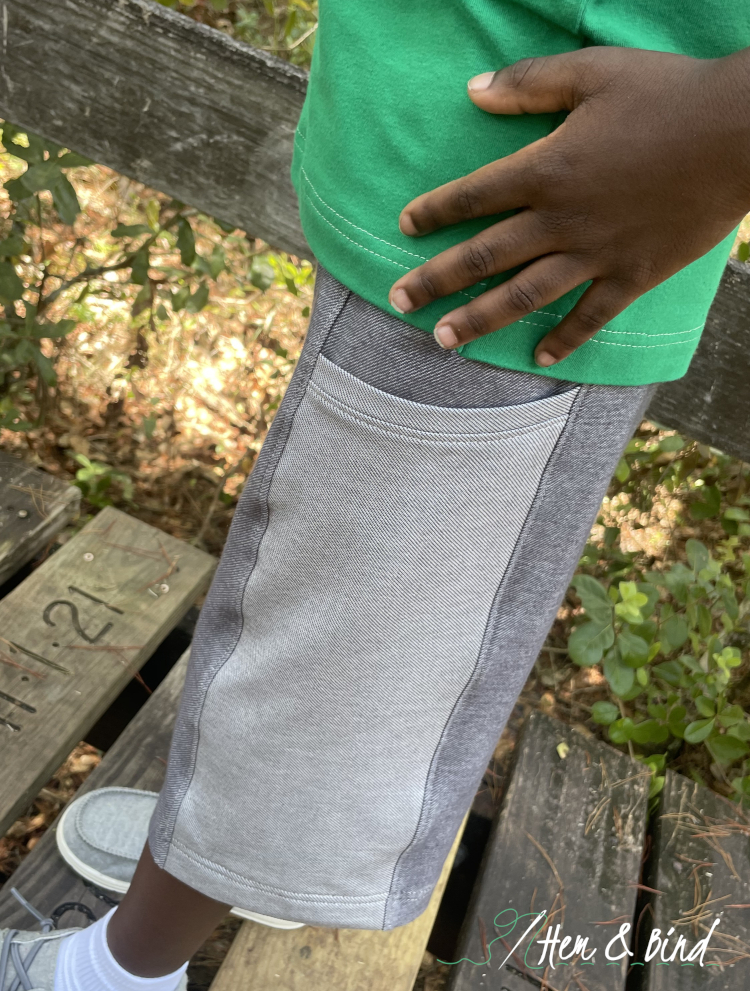
Boy Wonder chose green for his tee, so we used Boho Fabrics’ Green Fields Cotton/Spandex Knit for his Easel Tee.
The Easel Tee is lightning fast to sew, and the dolman sleeve makes it a bit different than your everyday, run-of-the-mill t-shirt. I modified this pattern a little bit by straightening the sides and the back hem.
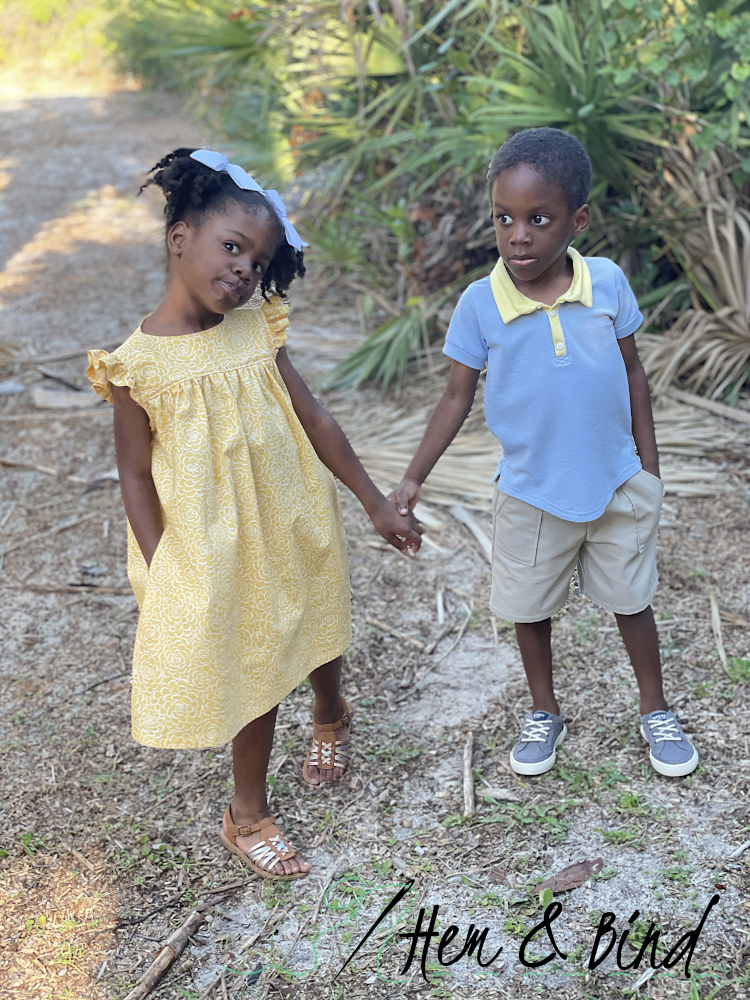
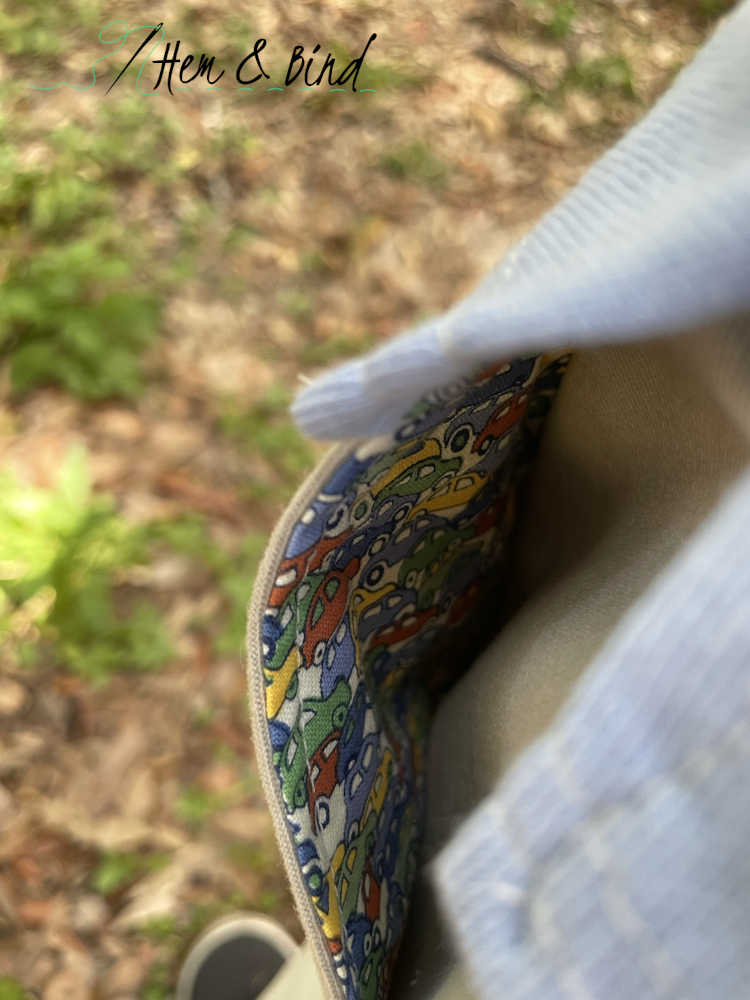
Abby’s Spidermonkey Shorts in the same fabric as his brother’s complete this outfit. I mixed it up a little, though, by turning the fabric on the outside of his pockets to the wrong side. I wasn’t totally sure about this idea at first, but I love how it turned out!
Wonder Girl’s ensemble definitely took more time than the other two, but I could not resist the Elodie Skort!
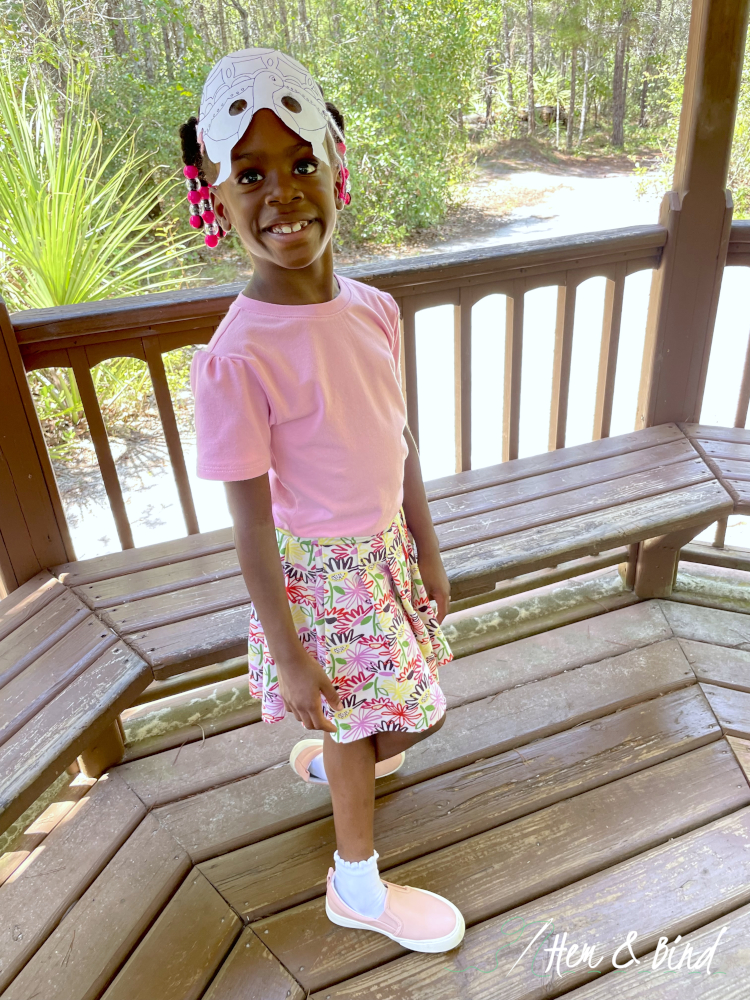
Wonder Girl’s top is the Eclipse again, but with the gathered sleeve. We used that Cotton/Spandex Knit one more time, this time in Fairy Tale Pink!

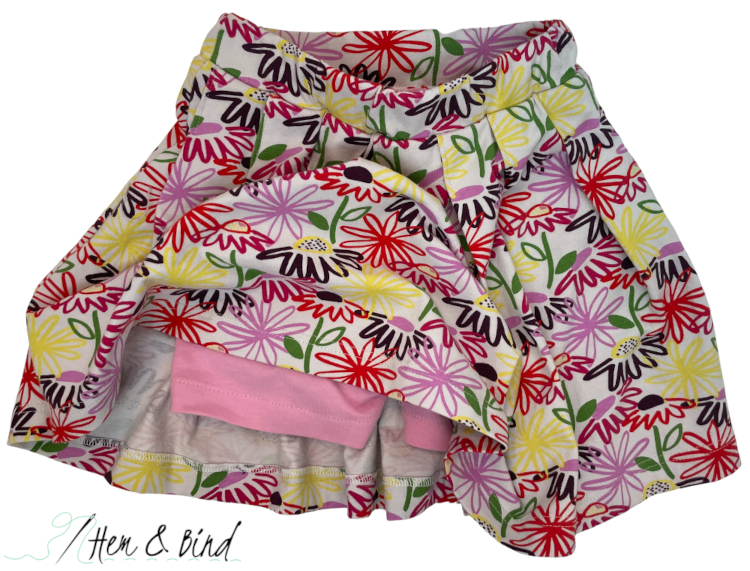
Look at how cute this Elodie Skort is in Mekko Doodles!
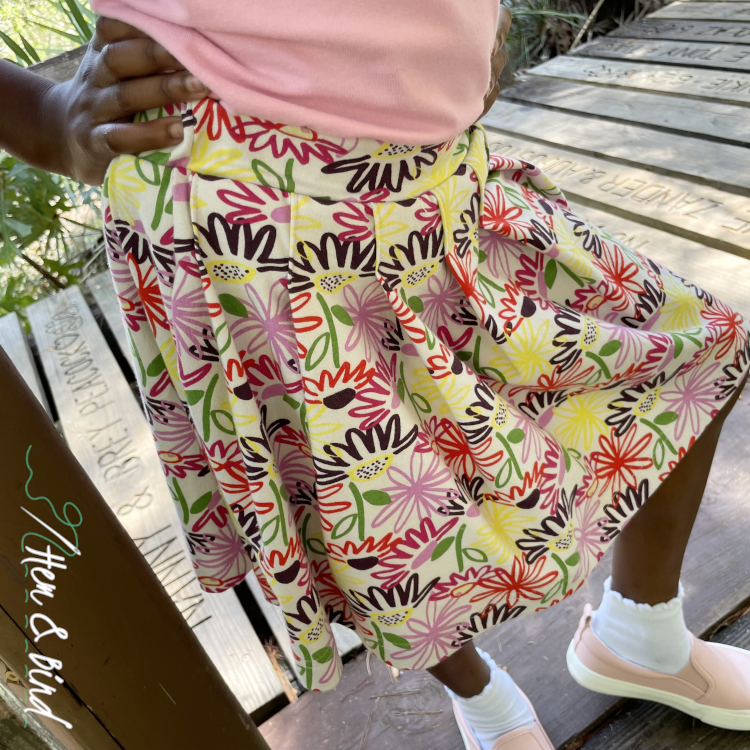
With its built-in shorts, it’s perfect for cartwheeling, hand-standing, or hanging upside down from the monkey bars!
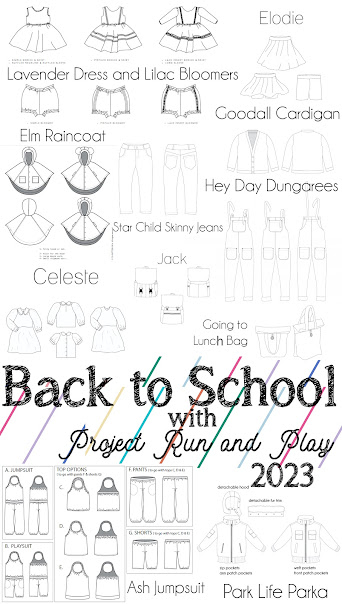
Be sure to pop over to PR&P to see what all the other bloggers have sewn for their kids’ first days of school! My very own Going to Lunch Bag pattern is featured over at Project Run and Play for Back-to-School this year. You can find it and lots of other amazing patterns (including all those I used above) in their pattern shop, AND you can use the code BTS2023 for 20% off of all individual patterns through midnight eastern on Friday, 8/11!