Bonnie
A Wonderful Mother’s Day
It’s funny . . . when Ray asked me a few weeks ago how I’d like to spend Mother’s Day, I said that I’d love to just be able to do what I want to do all day . . . no cleaning, no diaper changing, no cooking . . . but maybe some sewing. My Mother’s Day plans changed, though, when we traveled to Florida for my dad’s funeral the day before. It ended up being a great blessing to be able to spend it with my Grandma and my Mom instead of spending it doing nothing.
We woke up Sunday morning and drove from my Mom’s house near Gainesville to north Jacksonville to go to church with my Grandma (my Dad’s mom). After church we went out to eat, and then we went back to Grandma’s house to hang out for awhile.
It’s such a blessing to see my kids enjoy time with their Great Grandma!

We left Grandma’s house in the early afternoon and headed back to my Mom’s. We stopped on the way and picked up some dinner for everyone. My sister, Bobbie, came over with her girls, and we all enjoyed dinner together.
Mom and all her grandbabies

After dinner, Papa and Nana took the kids for a ride.

Then Papa watered the crops . . . and the kids . . . at the same time.

When the sun started to go down, we all headed inside to relax together and watch a movie before we packed things up to head home the next day. It was a great day spent surrounded by love!
Lessons My Dad Taught Me
My dad, William Robert “Smooth” Warren, passed away on May 3 from melanoma which had spread throughout his body over the last year. I was blessed to know that he knew Jesus Christ as his personal Savior, and went home to be with Him. I’ve been reflecting a bit since he died on the things I learned from him. His funeral was held in Palatka, Florida, this past Saturday. The church was packed with people he loved and people who loved him. It wasn’t your typical funeral gathering . . . most of those gathered wore jeans, black t-shirts and boots, and the roaring engines of Harleys announced their arrivals.

My dad taught me to never judge people by their appearance, by their past, by their situation.
 He taught me that family is family, regardless. Family means forgiving, loving, accepting, looking ahead and not looking back to hold onto grudges.
He taught me to stand up for the underdog . . . and to never give up on your favorite NASCAR driver.
He taught me to be generous with what you have, even when it’s not very much.
He taught me to stand up for what you believe in and to stand up for freedom.
 He taught me that when you make mistakes, you learn from them and move on.
My dad wasn’t perfect–I’m not either. It warmed my heart, though, to hear story after story at his funeral of how generous he was, of how he made people feel as if they were old friends when they had really only just met, of how he seemed totally at peace even just before the cancer finally took his life, of how much love he gave and how much he was loved. My dad and I didn’t have a traditional father-daughter relationship while I was growing up, but I’m so thankful for the time we had together after I was an adult. I think he was proud of the person that I grew up to be, and I know I am proud to say that he was my dad.
Fun with Nana & Papa
My mom and my step-dad came to visit a couple of weekends ago, and we had a great time!
They arrived Saturday afternoon, and we headed out to Mesquite to watch a rodeo on Saturday evening. That’s what you’re supposed to do when you come to Texas, right?
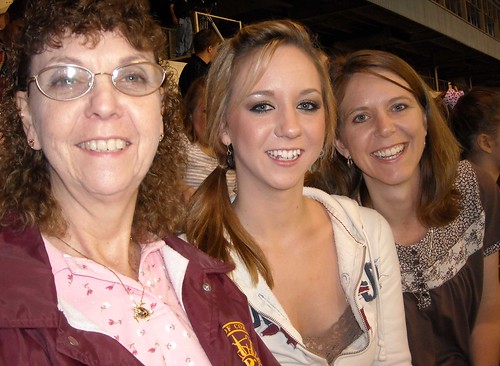
Nana, Morgan and Me

Sean and Papa
There was a petting zoo before the rodeo started, and we thought Jamie would love it . . . um, not really . . .

He wouldn’t even pet the baby chick if Daddy held it.
On Sunday, after church, we headed to McKinney for a Civil War re-enactment at Chestnut Square Historical Village. We learned about how the women dressed during that period of history.

Samantha, Allen and Morgan did some studying and goofing off in the one-room schoolhouse.

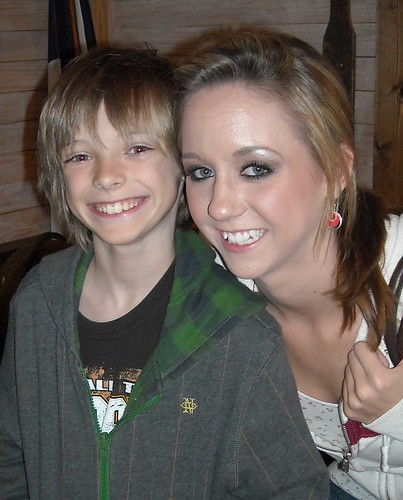

We got to see some pretty grotesque methods of battlefield surgeries.
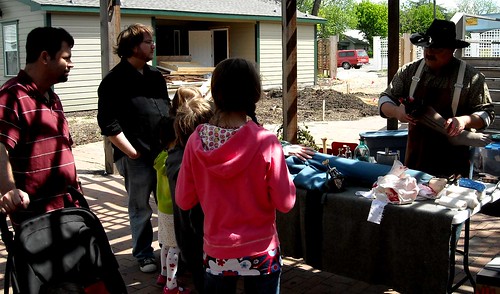
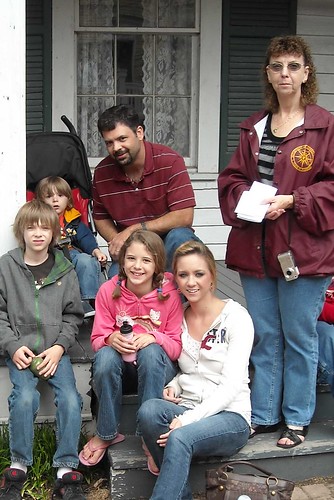
Then we all found a seat on the steps of one of the houses to wait for the battle.
Those brown eyes are so sweet, aren’t they? You’d never believe that face could look like this one second . . .

. . . and this the next.
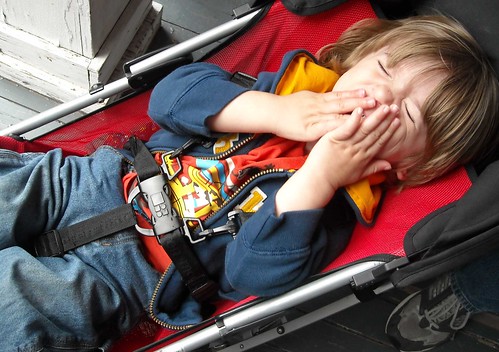
When the battle was over, Allen tried to convince us he was old enough to join up.

On Monday, we visited and did a little shopping together, and Tuesday, I got to do some sewing for my mom and Ralph before we headed out to dinner at Angelina’s.
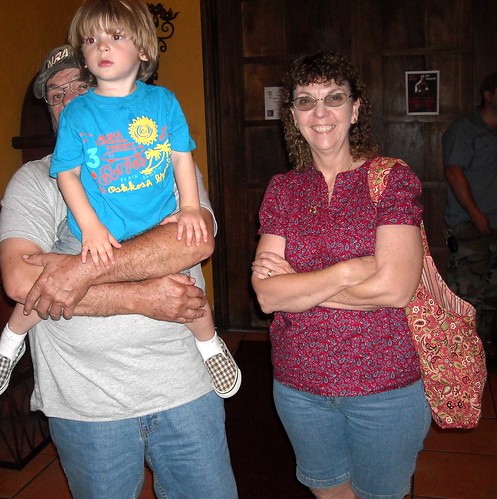
(That’s the new purse that I had just finished for my mom on her shoulder!)
Jamie thought he’d try some salsa. “Too picy . . . too picy!”


Poor baby!
Mom and Ralph packed up and headed up to visit with Ralph’s children in Oklahoma on Wednesday. Jamie helped load the car.

It was a really nice visit. It was so good to spend time with each other!
Spring Top Week – Day 5 (and the last day of the challenge)
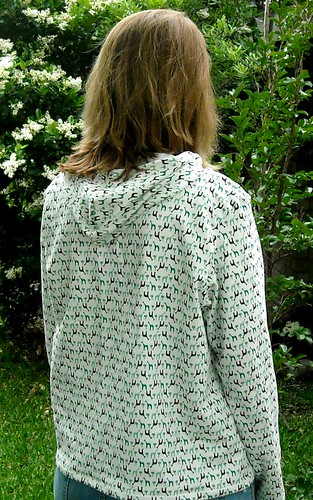
The last of my Spring Top Week projects–I finished this one a little late to enter it into the actual challenge, and now I wish I’d done it earlier . I was so afraid of that silly zipper (this was my first zipper), and it ended up being so easy! I feel a little ridiculous now that I was so afraid of sewing in a zipper! Yes, Shelly, you told me so . . . The fabric is organic cotton/lycra french terry that I bought from The Fabric Fairy with this hoodie in mind. I used the Favorite Things Hoodie pattern, but I made a few adjustments to get it to fit well. The major adjustments were narrowing it across the shoulders and tapering and extending the sleeves.
Unzipped
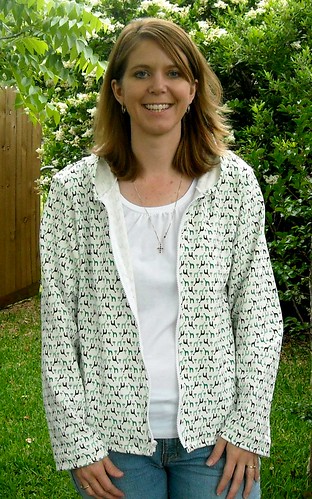
Zipped (The zipper works!)
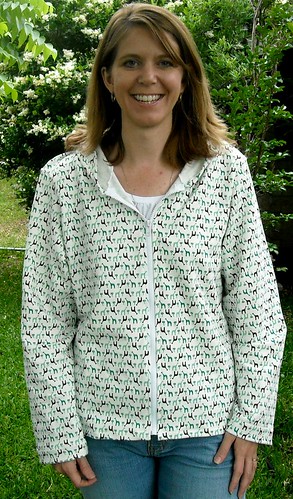
Back
Whew! That was a busy week of sewing, but it was a lot of fun!
Spring Top Week Day 4
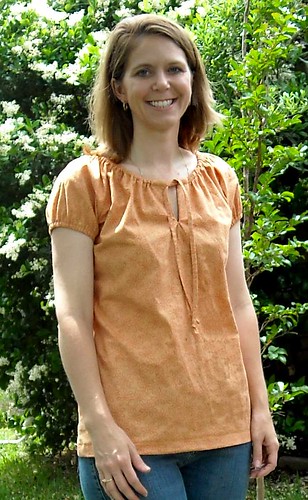
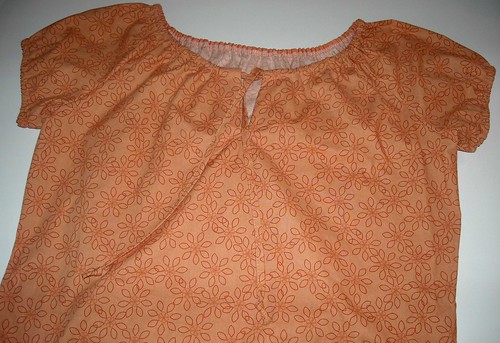
Thursday’s top is a tunic style made from New Look #6179. It’s sewn from a cotton woven fabric making it different from the knit tops that I normally wear, but I like it! I went by the measurements on the back of the pattern rather than the RTW size that I normally wear. I would normally purchase a size 10, but measurements had me make a size 12 in this pattern, and it fits really nicely. I did add some length to it because I like longer shirts, but I failed to flare the bottom enough and had to cut off some of my added length so that it would fit at the hips. Overall, I’m happy with it–I think I’d like to try making another one from cotton jersey!
Closeup of the pretty design on the fabric:
Spring Top Week Day 3
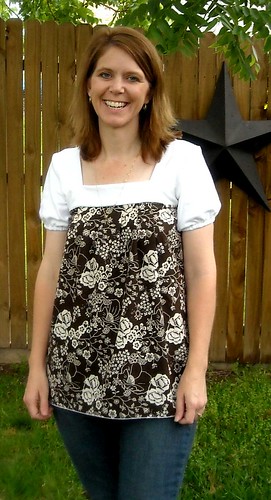
Today’s top is another Emmy modification. This time I curved the bodice and pushed all the gathers to the middle. I really like the look that it has this way! I also narrowed the width across the chest and shoulders, so it fits me better than yesterday’s top. This one if my favorite so far.

Spring Top Week Day 2
I made today’s top by enlarging my own Emmy Shirt Pattern. I’ve been thinking about trying the pattern out for myself for awhile. I’ve had a few mamas mention that it would be a cute grown-up top, too. There are a few things that I’ll change the next time I sew it, but overall I really like it. The cotton interlock makes it super comfy, and I love the color.

Edited on 5/29 to add: I decided overnight that I really didn’t like the way the sleeves fit on this shirt, so I made some modifications, and I’m much happier with it now!

New Kitchen Floor!
We have a beautiful new floor in our kitchen! Ray spent the day Saturday installing the new flooring, and we love the warm new look.
Before:

After:

Allen and I were chatting yesterday morning, and he said, “I really like this new floor. All the wood in the kitchen looks nice . . . but these rugs, they need to go. They cover up the wood.” LOL! Gotta love getting decorating advice from a 9-year-old boy!
And this picture just makes me laugh. I had just walked into the kitchen to see how things were going, and Ray said, “Two boxes down,” as he reached in to grab the last plank. Then, “Oh, look, instructions.”

Spring Top Week Day 1
I’ve really been wanting to sew some things for me lately, so I thought I’d jump into Made by Rae’s Spring Top Week Sewalong. For this first top, I followed Rae’s Spring Ruffle Top Tutorial at the Sew Mama Sew Blog, although I did modify it a little by adding cute elasticized sleeves. I really like the result. I think I’ll be making more of these!

Newborn Bloomers Tutorial
I recently fell in love with the Itty Bitty Baby Dress Tutorial by Rae of madebyrae.blogspot.com. It makes such a sweet little newborn dress! I’ve made a few over the last month. This first one was a gift for a friend who’s a huge Florida Gators fan.
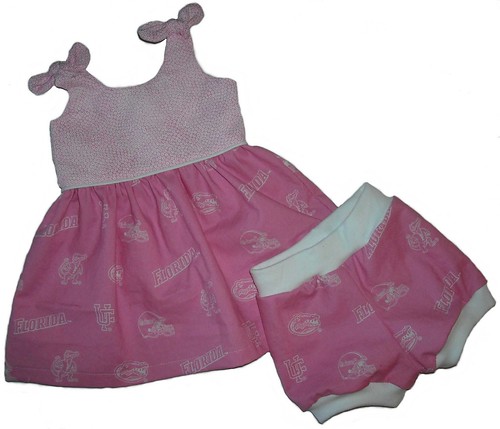
I really like having bloomers to cover baby’s diaper when wearing dresses, though, so I pulled out my AJ Bottoms pattern and got to work on shrinking the smallest size bloomers down to newborn size. I thought I’d share the pattern here with you so you can sew up some sweet baby dress and bloomer sets, too!
I made this set just last week for my friend, Lisa, who is expecting a baby girl very soon:
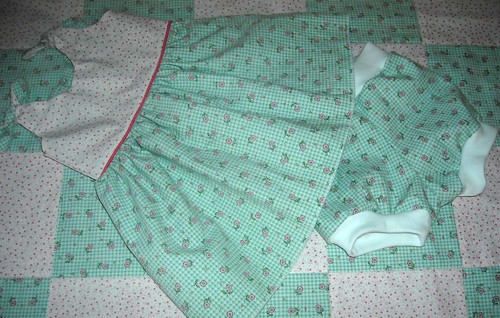
These bloomers should fit from newborn to around 12 pounds, and they’re roomy enough to fit over cloth diapers, too!
Before you get started, you’ll need 1/3 yard of woven fabric to match your dress for the body of the bloomers and 1/4 yard of coordinating cotton or cotton/lycra blend interlock for the waist and legbands. I like to use cotton interlock with enclosed elastic for the waistband. My favorite elastic for this use is 1″ plush diapering fold-over-elastic unfolded. It makes a really nice soft stretchy waistband. You could also use a cotton/lycra blend with no elastic or cotton interlock with 1″ pajama elastic. Really, because these bloomers are for a newborn, you might be able to use the cotton interlock without the elastic, but cotton has a tendency to stretch out and lose it’s shape while being worn, so keep that in mind.
Seam allowance is 1/2″ for sewing. Cutting allowance is 1/4″ for serging.
Okay, let’s get started! First, you’ll find the bloomers pattern here: Newborn Bloomer Pattern. Start by cutting out your pieces. Be sure to cut your body pieces in opposite directions. The easiest way to do this is to fold your fabric and cut both pieces at the same time.

Fold each body section over matching up inseam edges and pin.
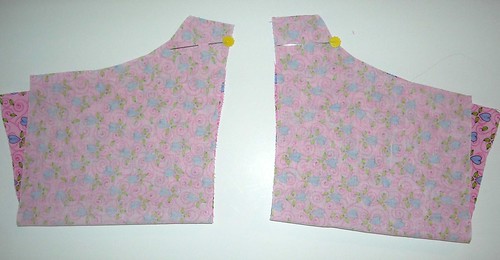
Sew or serge the inseam. Turn one body section right side out and insert it inside the other section so that the right sides are facing. Match up the inseam and the front and back as shown and pin.
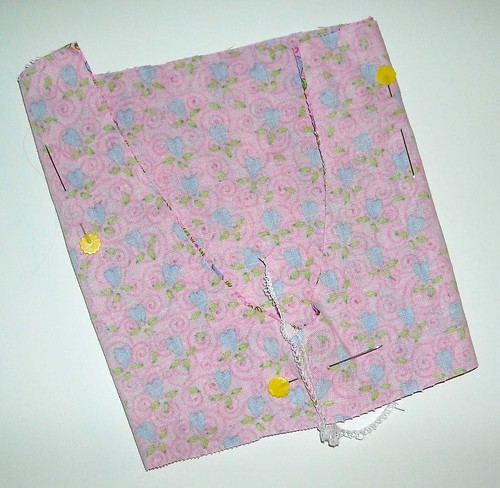
Sew or serge around this “U” shape and open up the body being sure that it’s turned inside out.

To make your waistband with hidden elastic, begin by laying out your waistband and cutting the elastic to the same length. (Remember if you’re using diapering FOE, it’ll stay unfolded.) Position the elastic about 1/4″ from one long edge of your waistband.
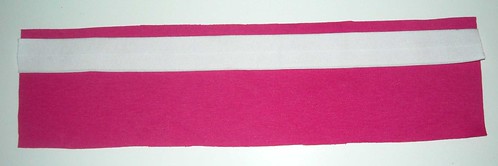
Fold the waistband over with the elastic on the outside, match up the short ends and pin.
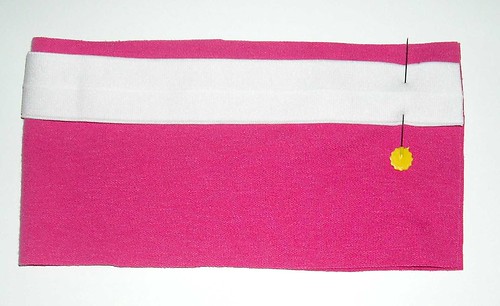
Sew or serge across the pinned edge.
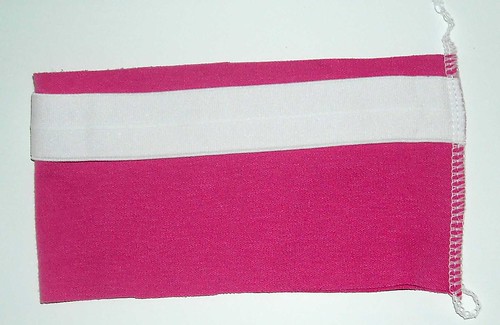
Now fold the waistband over the elastic, as shown, so that the waistband is right side out and your elastic is hidden inside.
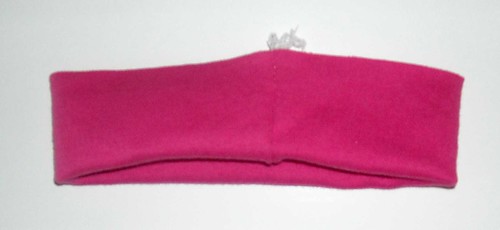
Next, pin your folded over waistband inside the body of your bloomers. Begin by matching up the seam on the waistband with the back seam of the bloomers. (The back of the bloomers is slightly higher than the front.) Then divide the waistband into quarters and pin evenly at the sides and front.
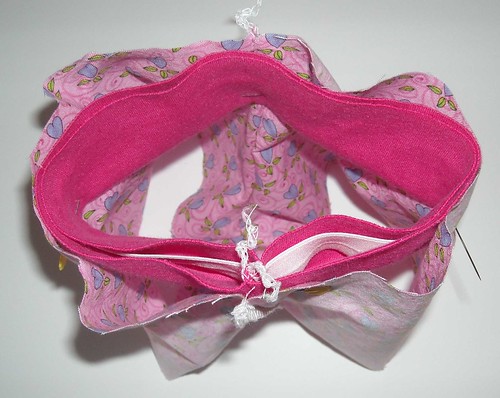
Sew or serge in the waistband. You’ll need to stretch the waistband to fit the body as you go.
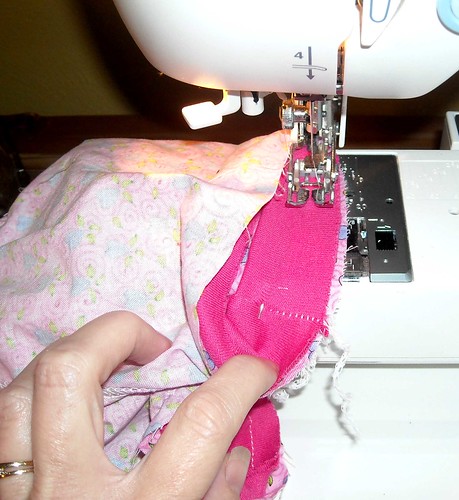
Fold your legbands in half, matching up the short edges.
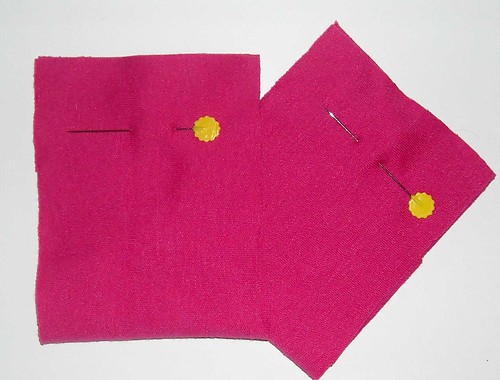
Sew or serge across the pinned edges, then fold over as you did the waistband. With the bloomers still inside out, pin the legbands inside the leg holes, lining up the seams. Divide the legbands into quarters and pin, then sew while stretching to fit, using the same method you used to attach the waistband.
Turn right side out:

Now go sew an Itty Bitty Baby Dress to match!
I love to get your feedback and see pictures of the things you make with my tutorials and patterns. I hope you enjoy this one!


