Uncategorized
Happy 18th Birthday, Sean!
I know you probably think we have a birthday around here once a week. Actually, from around the middle of January until the middle of March, we almost do!
Today is Sean’s 18th birthday! We had a great time celebrating with our whole family last night. Not very flattering, but this was our attempt at a double self-portrait. Hee-hee! (That’s Sean’s best friend, Josh, peeking over our shoulders.)

Why is it that boys feel the need to show off their muscles for the camera?

Cookie Cake!

Happy 18th Birthday, Sean! I’m looking forward to seeing all the wonderful things in store for you in the coming years and praying that you make many joyful memories in your last year of high school and on into adulthood. With much love, Momma


Easy Applique with Knits

Because knits don’t fray like wovens, appliqueing with them is really easy! Here are the few things that you need to get started: a fabric that you’d like to applique, a fabric cut to applique on and a lightweight iron-on adhesive product like HeatnBond Lite (you want one that says it’s “sewable”).

Begin by using a washable marker to outline the sections that you’d like to cut out of your applique fabric.

Trim down your applique fabric so you have just a little extra left outside of the actual applique outlines, and cut out a piece of iron-on adhesive the same size as the applique fabric you have left.

Iron the applique fabric to the iron-on adhesive.

Cut out your appliques. (I cut just inside the washable marker.)

Peal the backing off of the iron-on adhesive.

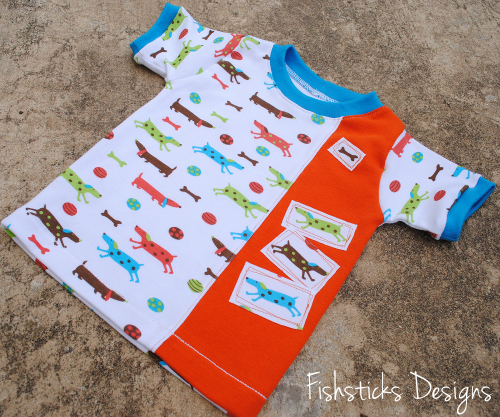
Decide on the position of your appliques keeping the seam allowances in mind. (This is the side panel from the vertical colorblocked Charlie Tee, so it has a 1/2″ seam allowance.) You’ll see here that I decided after laying them out that I needed an additional smaller applique at the top to balance things out.

Iron the applique on to the main fabric. (If you’ll be overlapping them a bit like mine, start with the one on the bottom of the overlapping.)

Now just stitch around the applique. I generally keep my stitching about 1/8″ to 1/4″ from the edge. I intentionally did these a little messy, and I love the look!

Add a few more, if you’d like.

Finish sewing your item and admire your work!
{this moment}
 {this moment} – A Friday ritual. A single photo – no words – capturing a moment from the week. A simple, special, extraordinary moment. A moment I want to pause, savor and remember.
Inspired by SouleMama
Patrick Curved Raglans, a Diaper and Undies

We’re busy getting ready to go on vacation this Friday! I’m so looking forward to relaxing and visiting with family. I have been sewing, though! I just finished up two sets for a friend who has a one-year-old son and a ten-year-old daughter. For the little guy, I made a Patrick Curved Raglan from turquoise Ooga Booga cotton interlock in a size 24 months/2T and a matching large Fattycakes pocket diaper.

For her big girl, I sewed up the feminine version of the Big Kids Patrick Curved Raglan in a size 10 with matching Little Fishies Undies.

Now I’m off to finish up sewing Patrick Raglans for my four youngest to take on vacation with us.
My Favorite Sewing Tip – Hemming Cotton and Cotton Blend Knits
Be sure to read my updated Hemming Tips here.

Sew Mama Sew is putting together a list of SMS Readers’ Favorite Sewing Tips so I thought now would be a great time to share some of the things I’ve learned about hemming knit fabrics. I love sewing with knit fabrics, and most of my patterns are designed to be sewn with cotton or cotton/polyester blend knits. Because of the stretchy nature of knits, sewing them requires a different approach than sewing wovens, but with the right tools, you can get great results. With the wrong tools, you might end up with wavy stretched out hems like this:

My method is definitely not the only method, but it’s what works best for me. I start with my iron and a can of spray starch.

I like to fold the hem up twice. I feel that the little extra thickness gives a nice look to the stitching and it helps keep stretching to a minimum. Spray the hem allowance on your fabric lightly with spray starch, fold up once and press, then fold up again and press. The starch will also help minimize stretching, and it washes right out when your project is completed. I prefer not to pin because I’ve found that pinning tends to stretch the fabric while you’re sewing. (There’s definitely a theme here. The less stretching, the nicer your hem will look.)

Many sewists use a twin needle for hemming knits. A twin needle is a great option because the way a twin needle stitches allows the fabric to stretch without the threads breaking. Unfortunately, I can never get the stitching on the back of the fabric to look nice with a twin needle, and I prefer to stitch along the hem on the inside. I’ve found that another great way to keep your stitches from breaking with stretching of the fabric is to put Woolly Nylon in the bobbin on your sewing machine.

The last, but maybe the most important, tool for hemming knits is a walking foot. A walking foot has built in feed dogs that move the top of the fabric at the same time and rate of speed as the feed dogs on the sewing machine move the bottom of the fabric. This makes a huge difference in how much your fabric stretches as it travels through your machine.

With Woolly Nylon in your bobbin and your walking foot attached to your machine, position your fabric in your machine with the wrong side facing you. Line your needle up close to the top edge of your hem and stitch all the way down. I check to see which guideline on my machine the bottom edge of the hem is on when I first start and then keep the bottom edge right against that line as I stitch. This way, your hem will be nice and straight on the right side of the fabric.


One other thing that you may have noticed is that I like to hem before I sew or serge my pieces together. It’s much easier to hem a flat piece of fabric and keep it from stretching than it is to sew over seams once the sewn item has been put together. I just tie off my serging or backstitch at the end of each seam when the item that I’m sewing is completed.

I hope that helps make sewing knits a little less intimidating. If you have any questions, just leave a comment, and I’ll try to answer them as quickly as I can!
Updating with some answers to your questions:
Tina asked, “Are walking foots relatively inexpensive?” My Kenmore actually came with a walking foot, so I wasn’t exactly sure how expensive they are. I did a couple of quick Google searches, and it looks like the average cost is around $25.
Steph T. and Sarah H. suggested using a ball point needle which is a very important tip that I left out.
Alisa asked, “You just use a regular straight stitch?” and “When you wind the woolly nylon onto the bobbin do you just do it the way you would normally wind it? You don’t have to change tension or anything?” Yes, I just use a regular straight stitch with WN in the bobbin, and I no longer have any problems with the threads breaking. I wind the WN in the bobbin almost the same way that I would wind normal thread. I place the cone of WN in a coffee cup off to the side of my machine and pull it up through the tension disk. Then I tie a piece of regular thread to the end of the WN and use it to pull the end through the hole in the bobbin and wind it up as usual.
the4rs asked, “Do they make walking feet for older machines, mine Elna is from 1960’s?” My trusty Google search found that Sewing Supply Warehouse carries a universal walking foot. You just have to know whether your machine has a low, high or slant shank.
I hope those answers help. Keep the questions coming, and I’ll keep answering!
A Valentines Swap for the Kids!
I am so excited that so many of you have so many questions about cloth-diapering! I’m working on an information post for you–hopefully, I’ll have it up in a few days.
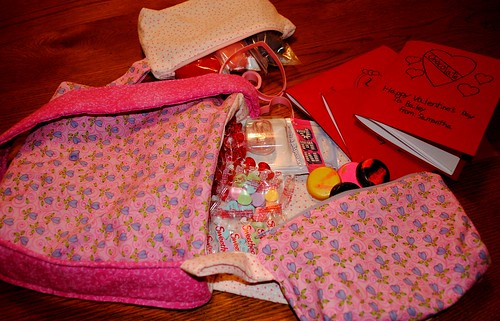
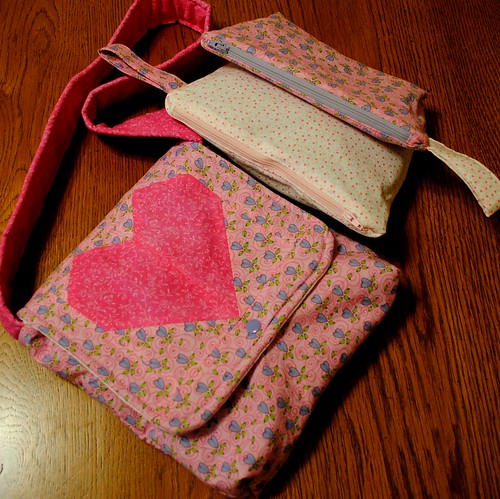
In the meantime, I wanted to share how much fun we had putting together this swap that was hosted on one of my favorite boards: Diaper Sewing Divas. (That’s a great place to go, by the way, to learn all about sewing your own cloth diapers.) In this particular swap, the kids (with moms help) were supposed to put together Valentine’s Day goodies for the children in the family we were partnered with. My three youngest participated by putting together this package for a little girl who is almost two. We started with a little messenger bag and matching zippered bags that I sewed up using tutorials from here on my blog.
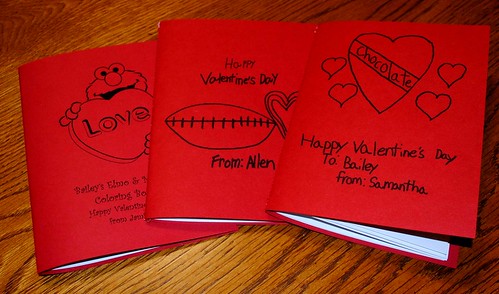
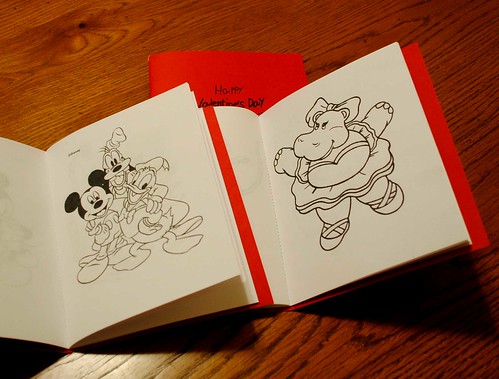
Then we added homemade coloring books. The kids each picked out coloring pages that we found online to make up a coloring book from each one of them. I used Chez Beeper Bebe’s Coloring Book Tutorial to put these together. (I did leave off the book-binding tape, though, because we didn’t have any on hand.)
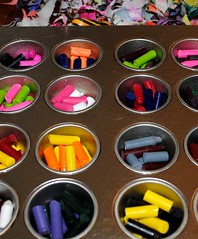
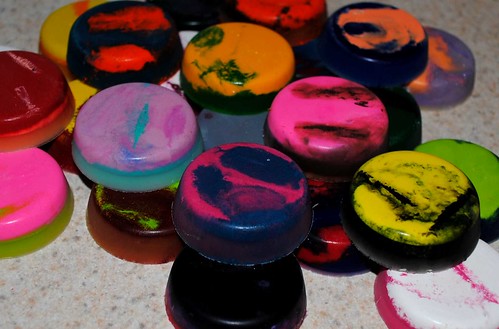
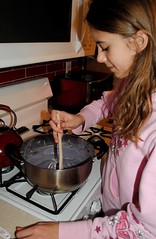
Coloring books need crayons, of course, so we followed the Cool Chunky Crayon Tutorial at Whimsy Love to recycle our old broken crayons into new chunky ones!
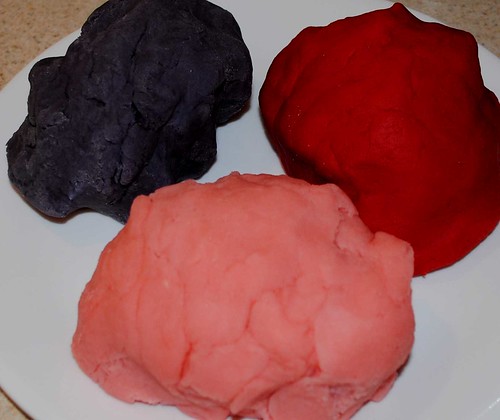
Finally, we mixed up some of our favorite Kool-Aid playdough to send along with some multi-sized heart cookie cutters.

Of course, we couldn’t leave mom out, so we sent along some fun things for her, too!
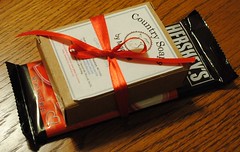
All packaged up and ready to go!

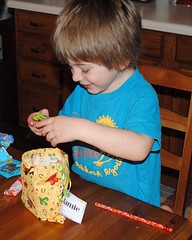
Only a few days after we sent our package, our swap package arrived!
There was a little arguing over who got to open the package.
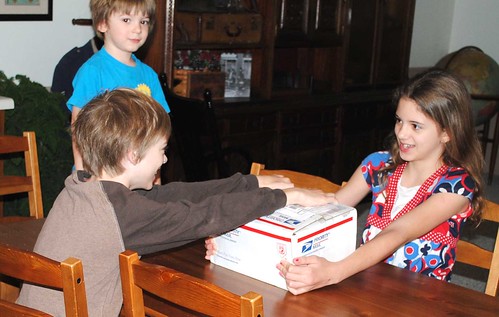
Somehow, Jamie won!

Each one of the kids got an awesome drawstring bag. (Allen’s has already been put to good use holding his Nerf darts!) Each bag was filled with all sorts of goodies–candy, bubbles, socks, pencils, pop-up balloons, ceramics to paint and lots more!
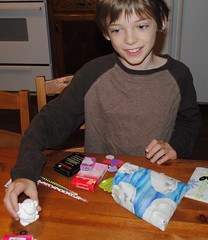

And, there were fuzzy socks for me and a pile of cloth diapers and a blanket for baby! Such a fun swap to give and to receive!


