Instant Gratification Projects
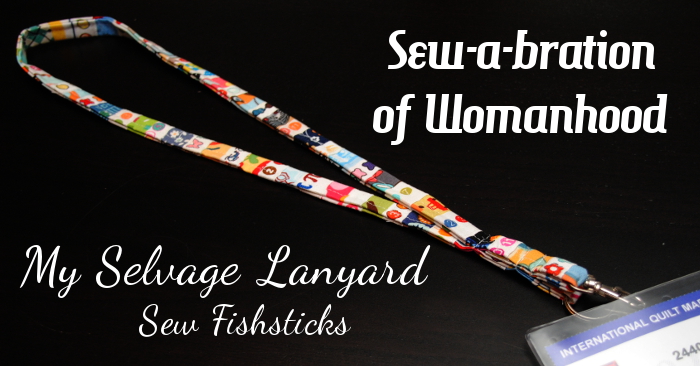
Sew-a-bration of Womanhood:
Something Pretty (& Practical) for Me!
 The Sew-a-bration of Womanhood is happening all this month at The Shaffer Sisters and Call Ajaire! To read more about this series, check out this post: A Big Announcement. Each day of May, different bloggers are sharing projects that they’ve sewn for themselves and other women in celebration of women and our common threads.
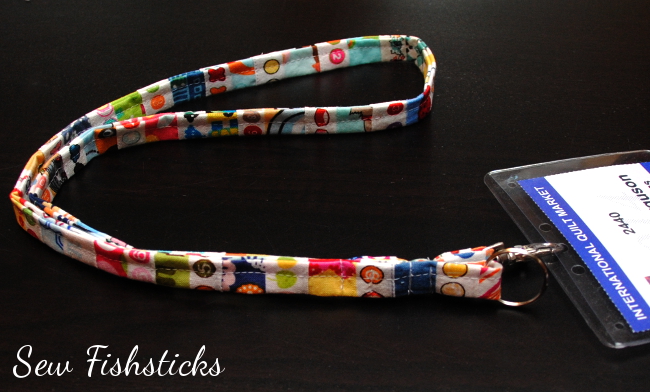
I love working with Ajaire and the Shaffer Sisters, so I jumped at the chance to be involved with this series again. (Last year it was the Make for Mom Series.) What I didn’t consider at the time is that I would be super busy prepping for Spring Quilt Market this week. (Quilt Market is the sewing and fabric industry’s huge bi-annual trade show.) This project needed to be a quick one. In order to find the time to do it, I got up an hour early one day so I could sew in the early morning while the rest of the house slept. (When you really want to sew something, you do what you have to do to find the time!) Because of the theme, I also really wanted it to be something that is all me. I like practical, I adore bright colors, and I love sewing. Since next week is Market, and I’ve always worn these lanyards with my nametags …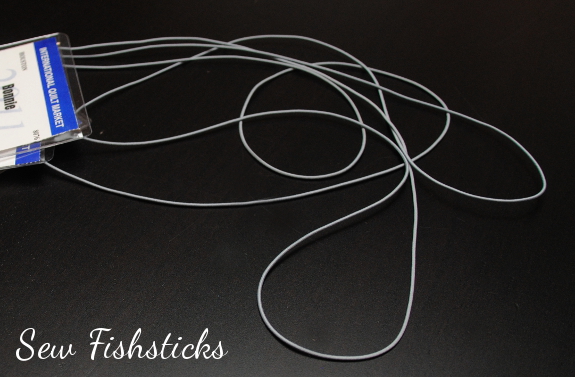 … I decided that a handmade lanyard for my nametag was the perfect choice! I checked out Pinterest for tutorials and found this one at Two Peas in a Pod that looked like just what I wanted. As I started to look through my scrap bin, though, I remembered seeing lanyards made from selvages at Market last year, and I have an ever-growing collection just waiting for a fun project!
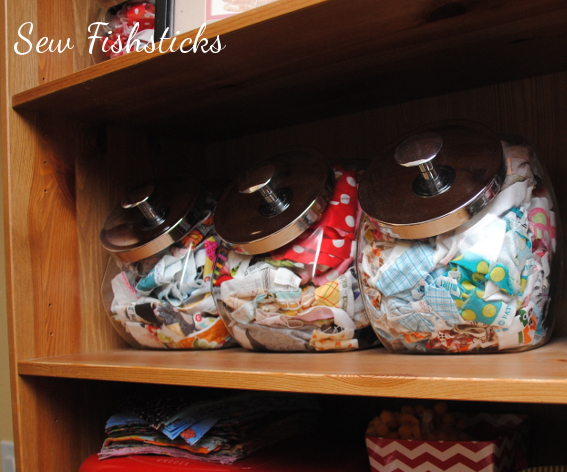 I started pulling out selvages that I wanted to use, and decided that since I was only using 2″ of each one, I would choose just those sections that have the color coding thingies. I’m sure those have an official name, but I have no idea what it is.
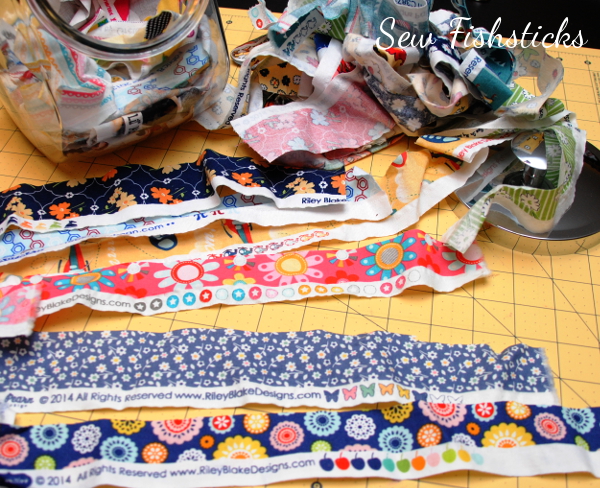 I cut each one 2″ wide per the tutorial instructions and left about 1″ of fabric above the selvage. I arranged them overlapping as I cut each one and kept measuring until I got to the needed 37″.
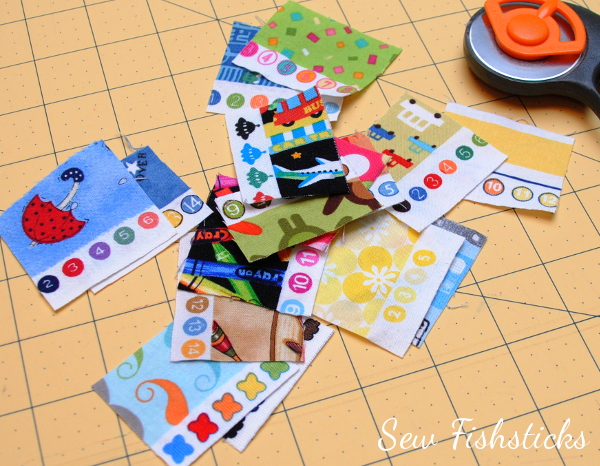 I started out pinning them in sections, and then stitching along each pinned edge, right on the very edge. After the first strip, though, I decided it would go faster if I just brought the whole pile of selvage pieces over to the machine and slapped one on, stitched it, moved on to the next one. I even gave up pinning altogether. Time was of the essence here!
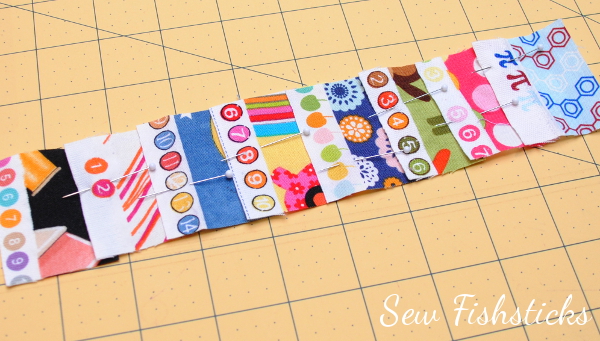 Thankfully not too far into stitching these little buggers together, I realized that if I kept going this way, half of my lanyard would be upside down! So, instead of one long strip of selvages, I made two and stitched them together right sides facing so that each side is turned the right direction.
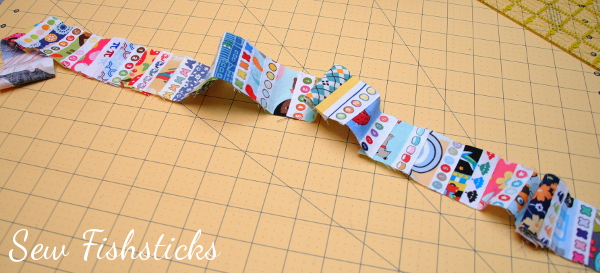 From here, I just followed the tutorial directions! I did, however, only stitch down the open side of the folded layers. It’s such a narrow piece, and, well, there was the time thing.
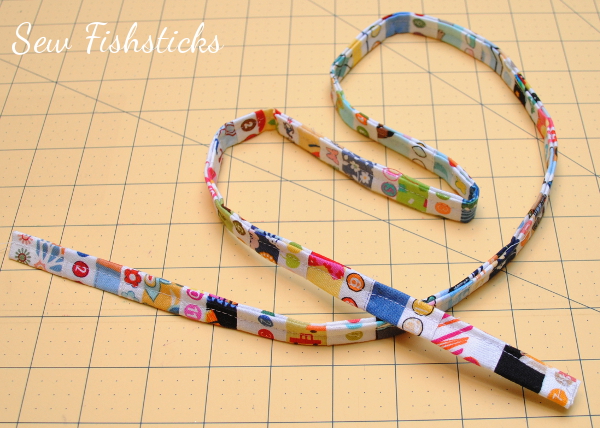 The only place I had any trouble was with sewing a square above the hardware. My machine wasn’t having any of that, so I just stitched across several times to secure the ends. (An added bonus of using the selvages is that there are no raw ends tucked up in that finished piece!) I was in a hurry, so I didn’t stop before this part to replace my regular needle with a denim needle, and, of course, I broke my needle on the first pass. Ugh! Once the denim needle was in, stitching across and back was no problem!
 In less than an hour, I was done! Wheeeee! I’m so excited to get to use this next week! A successful project that is pretty, practical and quick — what more could you ask? No more boring gray, disposable lanyard for me!