Sewing with Knits
Operation Pajama Drawer: Wee Tot PJs & More Prep Work
 Eek! There’s only a week left in the month, and I have lots more pajama sewing to do! I did get a Wee Tot Collection PJ set finished for Charlie yesterday, though, and all of the rest of the pajamas are cut out and ready to sew.
There’s one more knit set of PJs — Runaround Pants and a Patrick Raglan.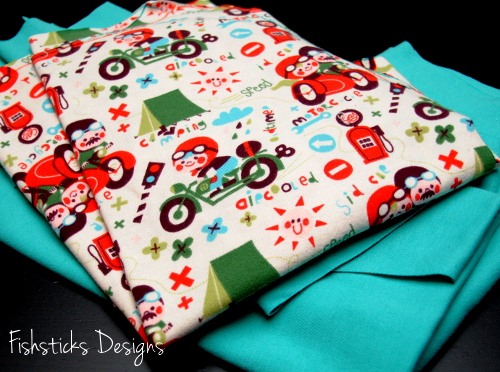 There’s a pile of pieces to make the five tops to go with Jamie’s jammie pants from last week.
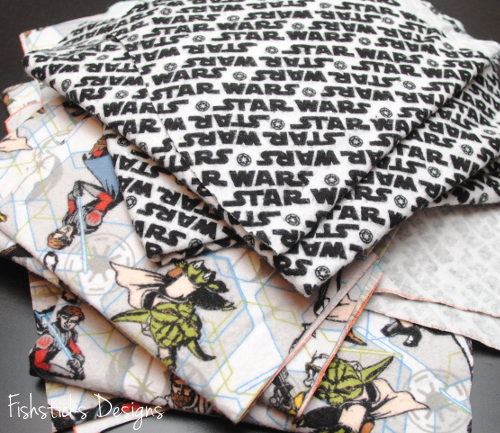
 And, last but far from least, Charlie’s and Jamie’s long-awaited Star Wars Pajama Party PJs are finally progressing.
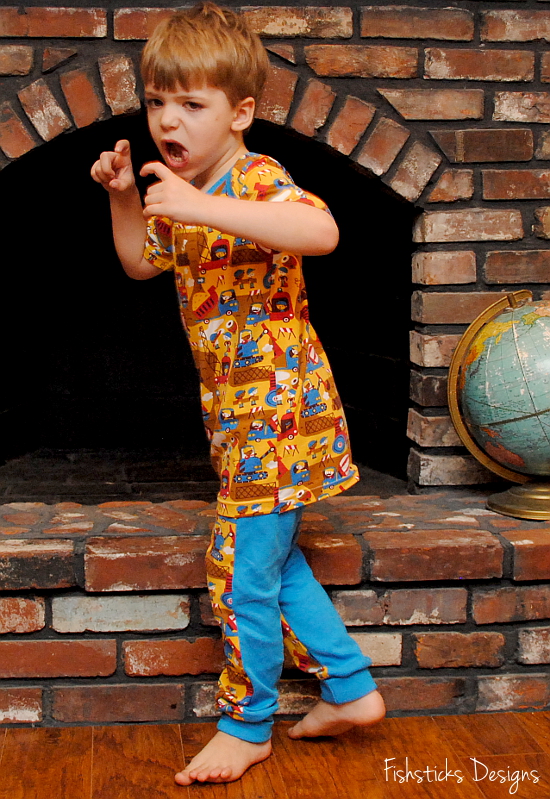
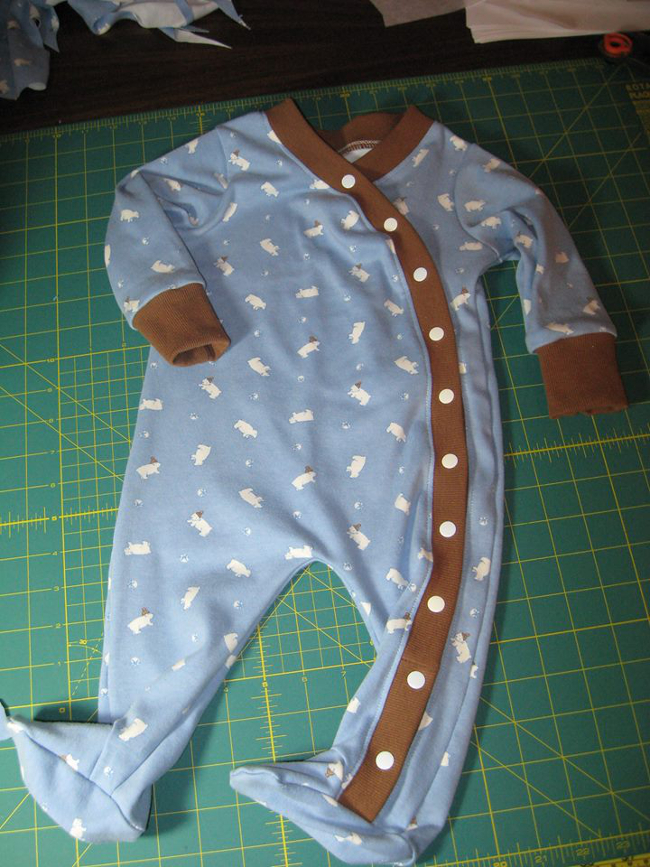
 The Wee Tot Set that Charlie is wearing above is sewn from Lillestoff Under Construction organic cotton jersey and solid turquoise interlock. I used the size 5 laptee and pants, but I added a bit of length to the shirt and doubled the width of the legbands so that I could fold them up for a little extra growing room!
New pajamas on — check! Camera in mom’s hand — check! Lollipop bribery ready and waiting — check! Commence silliness!


Operation Pajama Drawer: Firefighter Lazy Days
 I should subtitle this post, “Four-year-olds do not stand still.” Or rather, “Three-year-olds do not stand still on the eve of their fourth birthdays because they’re overflowing with excitement.” This little guy cracks me up, and I can’t believe he’s four years old already! His new size 5T Lazy Days Lounge Set is sewn with organic cotton Lillestoff stretch jersey from Simplifi Fabrics and organic cotton interlock trim from Organic Cotton Plus. I did add about 1/2″ in length to the top and the pants since Charlie is really tall, and I’m hoping these will fit for a while.
I’m going to keep this post short and let these silly pictures do the talking! (I have birthday baking and shopping to do! Charlie has requested a brownie cake with chocolate frosting and “red guys”. The cake I can handle. As for the red guys, I’m hoping Target has some good choices!)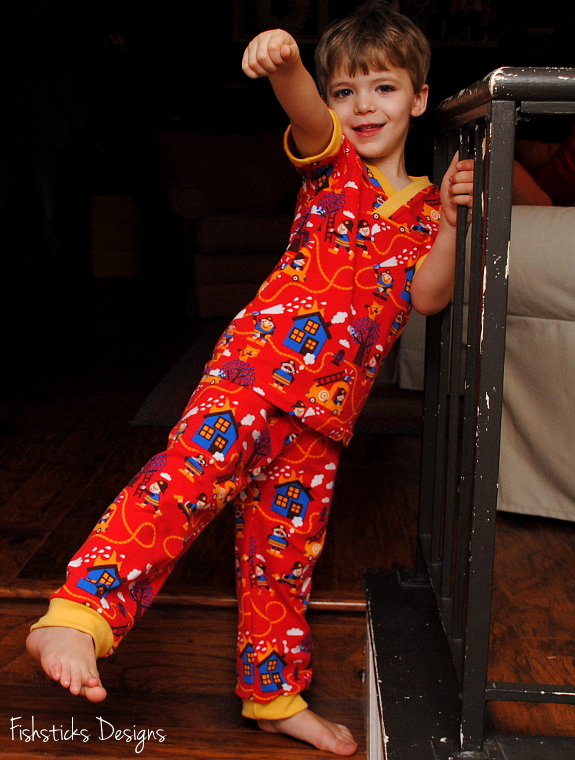
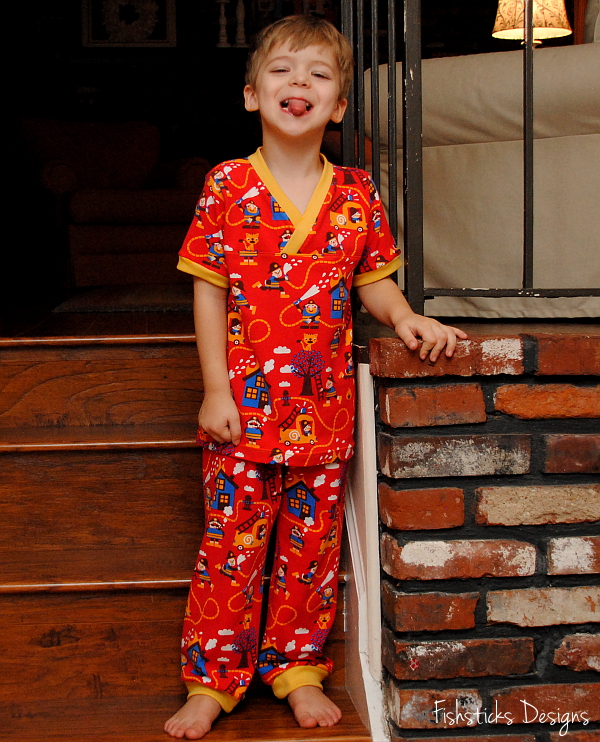
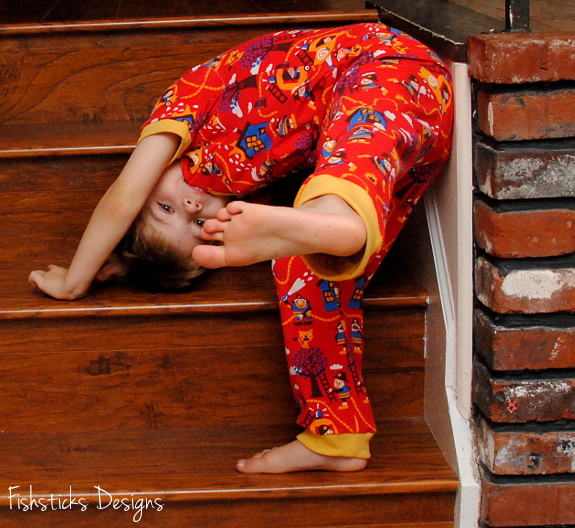
 Oh, wait! One more thing . . . it’s noon now, and he’s refusing to take off his new jammies. I think that means he likes them!
Adding Footies to the Jamie Jumper – Guest Tutorial
My friend, Allison, from Alternate Endings put together this simple tutorial for adding feet to the Jamie Jumper, and I asked her if she’d mind letting me share it on my blog. If you’re looking to make footie PJs for your little ones this winter, just grab your Little One Layette or Wee Tot Collection pattern, and check this out!
Turn your Jamie Jumper into Jamie Jumper Footie PJs
Begin by laying out your pattern pieces (except for leg cuffs – you won’t need them) as directed in the instructions, adding 2″ to the bottom of each leg section. Also add at least 2-3 inches to each piece of binding. If it’s too long you can cut off the excess. You will also need to cut out pieces for the feet. I used pattern pieces from a different pattern, but you can also use the bottom and top pieces for a soft-sole shoe pattern, or just trace around your child’s foot with these approximate shapes, being sure to give some wiggle room and adding a 1/2″ seam allowance. (The half piece is for the top of the foot, and the whole piece is the sole.) If it fits your baby, it should work just fine.
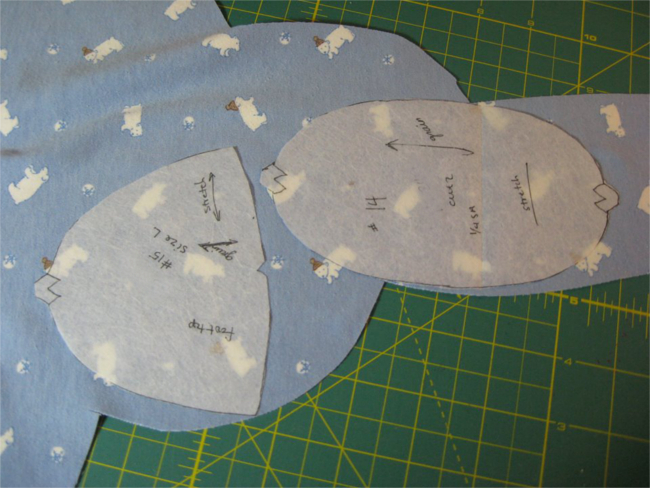 Assemble your Jamie Jumper as usual, leaving off the leg cuffs. And don’t forget to make a few mistakes like I did. You know, things like forgetting to cut the binding an extra two inches longer and having to move the serger next to the sewing machine so you can sew an extra strip of binding on without having to remove the garment from the serger. Please make that mistake. It will make me feel so much better.
After the JJ is assembled, you need to cut a rounded “V” shape onto the bottom front of each leg – approximately 1″ wide and 1-1/4″ high. Round the pointed part a bit. When you make the V for the side with the ribbing/binding, be careful not to cut it too close to the ribbing. Leave about 1/4″ between the ribbing and the V so you have room to attach the foot pieces.
 Attach the top part of the footie to each “V”, right sides together. Match the middles and sides. You will probably have to stretch the V a little to make it fit.

 After you have attached the top portion of the footie, turn your JJ inside out and attach the bottom part of the footie to the bottom of the Jumper, right sides together. Match ends and sides. You will probably not need to stretch anything for this to fit – unless you have a very large-footed kid.
 Turn garment right side out, admire your handiwork, and finish jumper as directed.
Tutorial by Allison Sanders Morton.
Shared with permission.

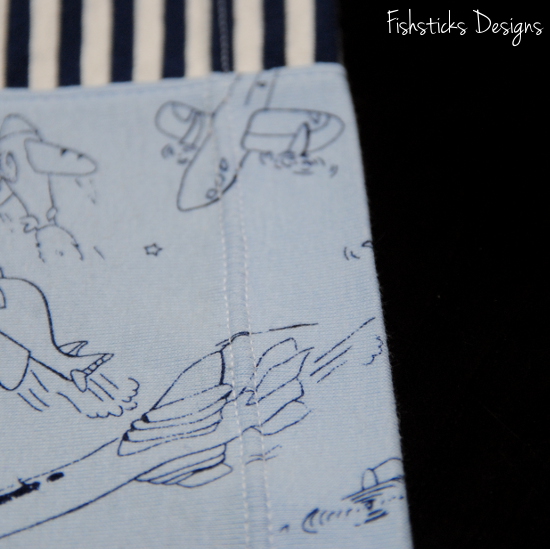
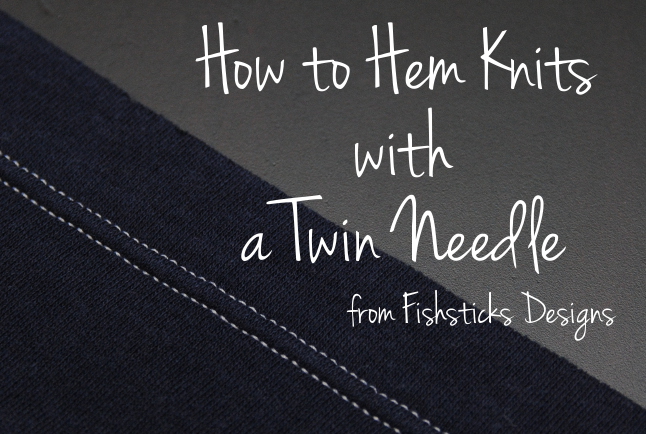
Twin Needle Hemming – A Tutorial
 I originally shared this information as part of the Charlie Tee Sew-along in July of 2013, but I thought it deserved to be turned into a stand-alone tutorial so that it’s easy for you to refer to when necessary. The twin needle is a perfect choice for hemming knits, not only because it gives your sewing a beautiful finished look, but also because it gives you two rows of stitches on the front (see above), and a nice stretchy zig-zag on the back (see below). That stretch in the twin needle hem goes a long way in helping to prevent popped stitches.
 Let’s get started! First you need a few tools: a twin needle (also referred to as a double needle), your regular spool of thread and a second source of thread (I use a bobbin). Since you’re working with knits, it’s best to use a ballpoint or stretch twin needle. Those are hard to find locally, but they are pretty easy to find online: stretch twin needle, ballpoint twin needle. I prefer the 4.0 mm twin needle — that number refers to the measurement between the left and right needles. You can use a 2.5 mm if you’d like your stitches closer together.
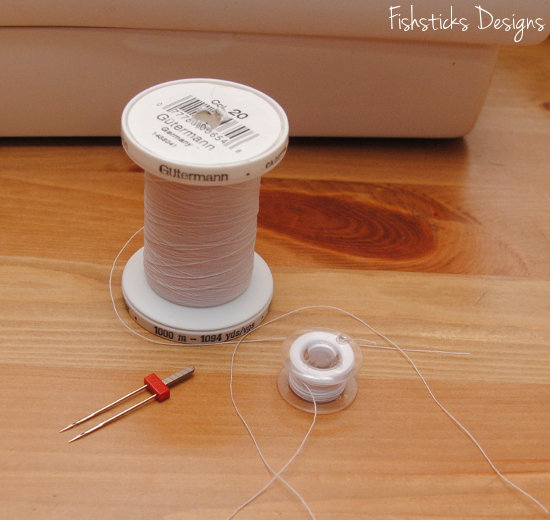 Some sewing machines, like mine, have a button or switch that needs to be pushed to change from single to double-needle sewing. Here’s what that button looks like on my machine. Go ahead and press that button. Remove your single needle and replace it with the twin needle.
 Many sewists put both thread sources on the pin that holds your regular spool. On my machine the threads tend to tangle when I do it this way.
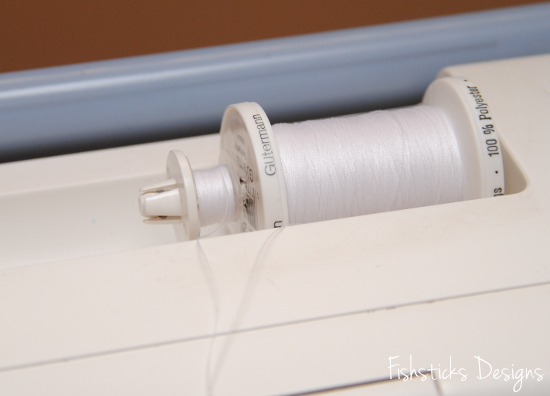 Some machines have a extra removeable pin just for a second spool of thread. I think mine did at one time, but I’m not sure where it’s disappeared to. It’s not a problem, though, since I’m using a bobbin for my second thread. I just pop that bobbin onto the bobbin-winding pin with the thread feeding towards the front of the machine.
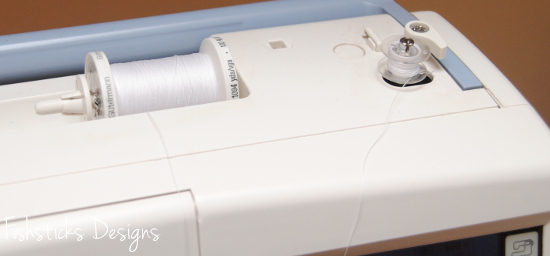 You can thread the twin needle by pulling both threads through as one. My machine is a little bit picky, though, and I’ve had to work with it until I found the best way to thread the twin needle. What I do is thread the left needle first from the spool of thread, then I press and hold that thread in place on top of the machine just before it enters the guides while I thread the right needle from the bobbin.
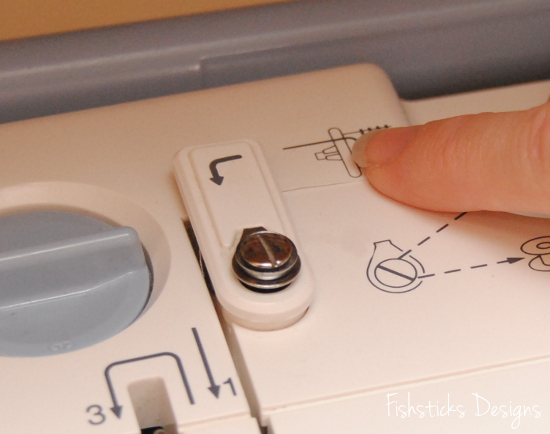 Once I have both needles threaded, I pull the threads back away from the machine as one.
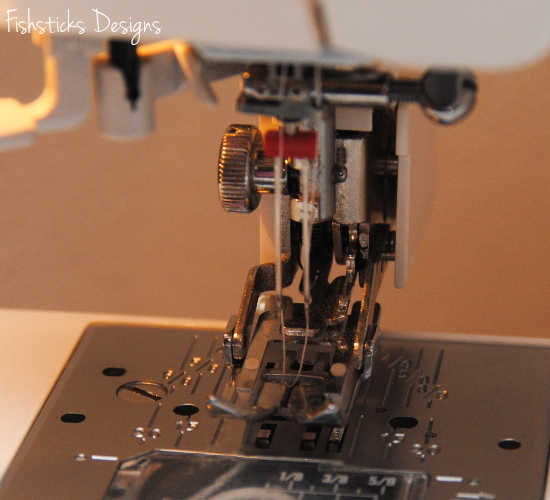 Now that your twin needle is threaded, we’re ready to get hemming! I serge the raw edges of my hems, but that is purely for aesthetic reasons. (I like for the inside of my garments to look as nice as the outside.) Because knits don’t fray, you can totally skip this step if you want to.
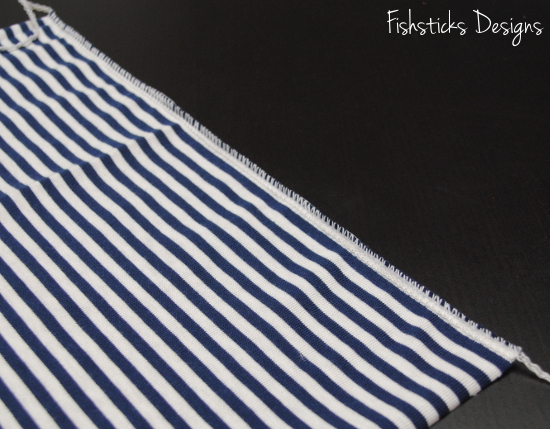 With a hot steam iron, press your hem allowance to the inside. If your knit is particularly stretchy or uncooperative, use a little spray starch when you iron.
 Because we’re going to be stitching on the right side of the fabric, and I don’t want to sew over my pins, I use long pins and position them so that the heads hang off of the folded edge. This way, I can make sure that the hem is pinned properly, and I can remove them as I get to them while I’m sewing.
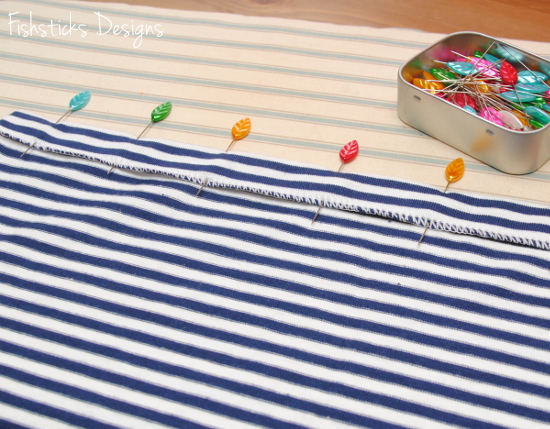 I like to start my hems about 1/2″ in from the edge of the fabric. Set your stitch length to 3.0 or 3.5. (Shorter stitch lengths stretch fabrics.) I backstitch about 1/4″, then stitch all the way across feeling through the fabrics to make sure that my stitching is falling just inside the raw edge on the underside of the fabric. I stop stitching about 1/4″ from the opposite side, backstitch to 1/2″ then sew forward again to the end. (Starting your stitching a bit in from the edge will help to keep your machine from “eating” the end of your knit fabrics. Backstitching to 1/2″ will help make sure that you don’t chop off your fastening stitches when you serge later.)
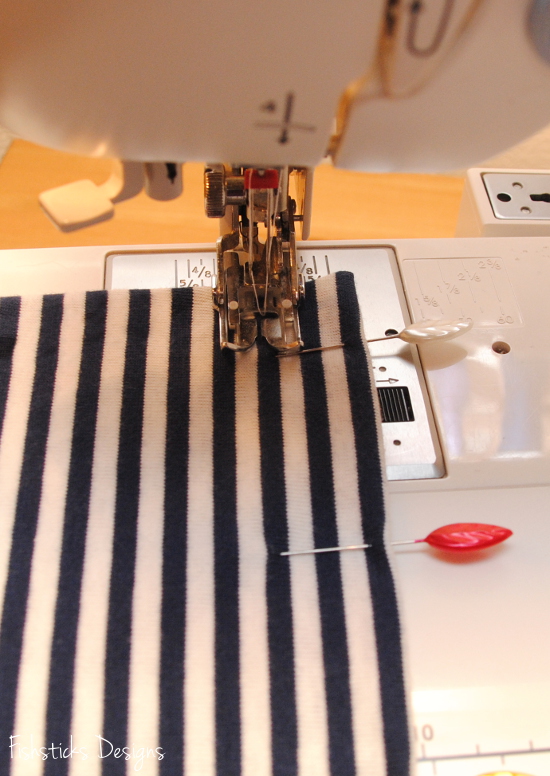 Be careful not to stretch or pull your fabrics as you’re sewing. Just guide and let the feed-dogs pull them through. (This is much easier with a walking foot!) Pulling on your fabrics while you’re sewing can lead to hems that look like this:
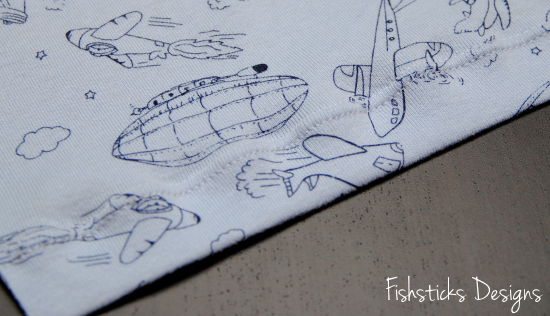 What you really want, though, is hems that look like this:
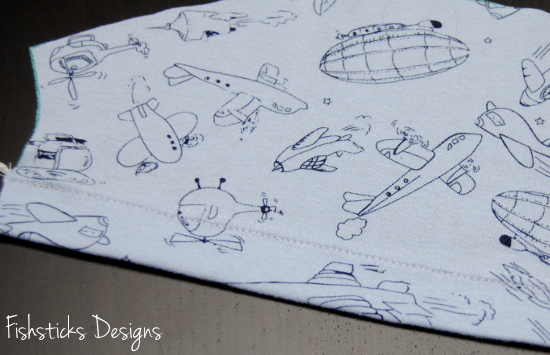 That wasn’t too hard was it?