Handmade Decor
Quick Quilted Coasters ~ A Tutorial
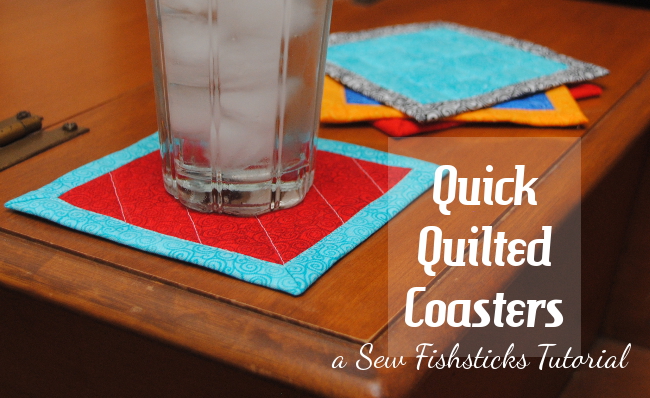 When Cubby and Tinkerbell came to stay with us in January, we had end tables in our livingroom that were sort of tall and narrow. They had nice varnished tops that didn’t need coasters. They weren’t very safe, though, with an almost two-year-old who climbs everything, and sometimes you just have to pick your battles. Soooo … we replaced those end tables with a couple of vintage, thrifted tables that are wider and lower and sturdy enough to be used as climbers. They’re beautiful tables that have stood the test of time, but a cold, sweaty water glass could doom their finish quite quickly. In the beginning, we threw washcloths and dish towels on the tables … until I couldn’t stand it any longer and found time to sew up a stack of coasters! Continue reading
Drunkard’s Path Circle Mini Quilt
 I mentioned this mini quilt in a post a few weeks ago: Apartment Decorating on a Budget. I’ve been enjoying making mini quilts quite a bit lately, and I love the little pop of color and softness they add to a room. When I made plans to spend a weekend helping my oldest daughter decorate her new apartment, I knew that a mini quilt would be the perfect house-warming gift!
Continue reading
Apartment Decorating on a Budget
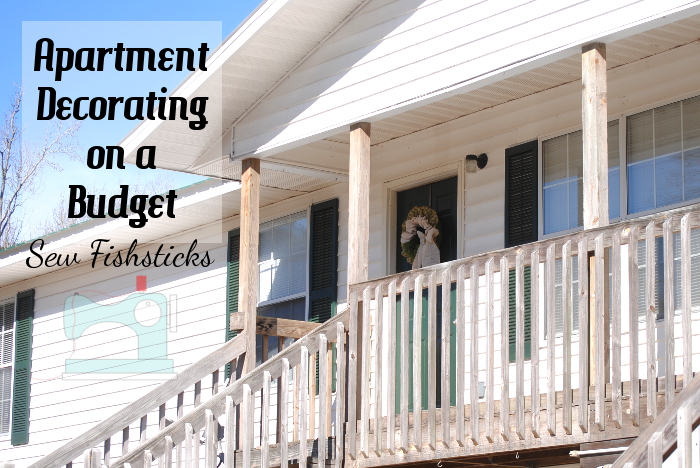 My oldest daughter and her husband moved into a new place last month. Our son-in-law is going back to school, and they were able to rent a small apartment on campus … a small apartment with giant blank white walls! Because the two of them have worked as house parents at a group home for the last few years, and they’ve not really had a place of their own, they didn’t have much in the way of home decor. So, I asked if I could drive up for a long weekend to help decorate, and they accepted! My younger daughter came along, and we had so much fun – shopping, eating, building, decorating and just enjoying each other’s company, and we put together a cozy, welcoming space, AND we did it on a really tight budget!
Continue reading
The Simple Quilted Blanket ~ A Tutorial
 Ready for another simple handmade home project? One of the things on my to-do list in preparing for our foster family homestudy was getting beds ready. Foster families rarely know what age children are going to be coming into their home, so having beds and bedding in every size from crib to toddler to twin is a necessity! Add to that, the fact that you’ll need bedding sets for boys and for girls, and the cost for comforters or quilts can really add up. (Experienced foster parents will tell you, too, that you quickly become a master at rearranging every bedroom in the house in a few hours!)
I had a terrible time when I started my hunt for toddler bedding. Cute, quality, non-character toddler bedding is really hard to find at a reasonable cost. So, I went to work making a couple of simple quilted blankets using measurements to fit a toddler bed, and I snapped some pictures along the way to write up a tutorial for you!
Continue reading
A Christmas Quilt & the Fastest Tree Skirt Ever
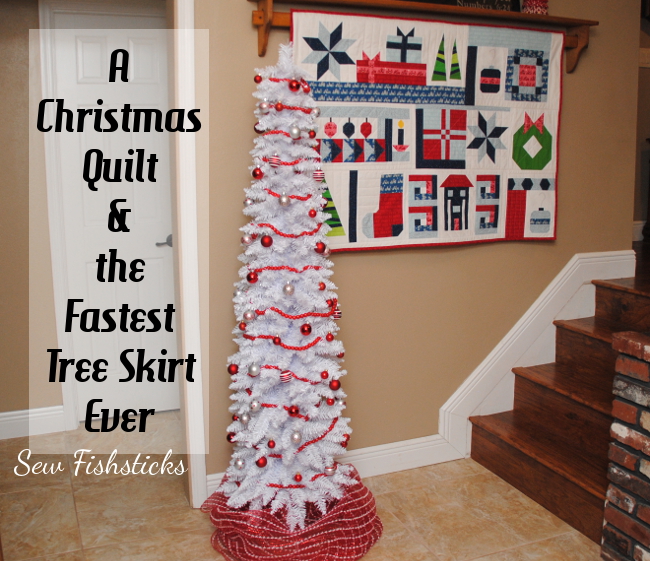 How are the holidays going at your house? We’ve been enjoying our traditional advent calendar activities, visiting with friends, cooking, crafting, playing … all the things that I want our Christmas memories to be made of. I posted a picture on Instagram a few days ago of a fun (and messy!) afternoon spent decorating some very yummy but not very pretty sugar cookies hashtagged #notpinterestworthy, and a sweet friend reminded me that life is not Pinterest-worthy! Before I move on to my crafts for today, I forward that reminder on to you. Have fun, make a mess, and enjoy this Christmas season!
Fabric-Wrapped Decor Balls~A Tutorial
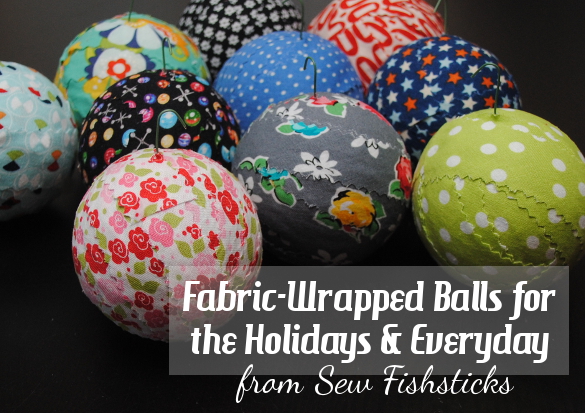 These fabric-wrapped balls are super-easy to make, and they work beautifully as Christmas tree ornaments or as everyday decor! There are a number of tutorials out there already, but I tried a few, and I just wasn’t thrilled with the results. I wanted the fabric to sit flush up against the ball without having to glue the entire strip down. The trick? Cut your fabric on the bias! When you cut on the bias, you get just enough stretch to allow the fabric to fit around the curve on the ball, and you only have to glue the ends down. Ready for the quick tutorial?
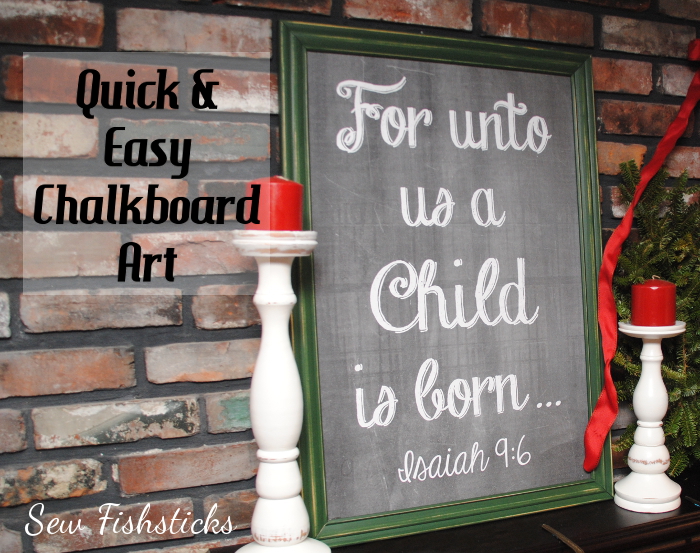
Chalkboard Art~A Tutorial
 I love sharing handmade holiday ideas with you each year, and I’m excited that I’m actually starting early in the month this time! Some of the ideas that I’ll share will include complete tutorials, some will be a little less structured (like today’s) and give you some ideas while pointing you to other tutorials or patterns.
I have wanted a giant piece of artwork with Isaiah 9:6 for our fireplace mantel for the last few Christmases, and this year we made one! Oh, and it was really fast, really easy and fairly inexpensive! I started with the free chalkboard background from How to Nest for Less. Erin suggests only printing it as an 8X10, but I found that it worked beautifully for a much larger print. I used Gimp, which is a free downloadable image manipulation software, and I cropped the background to 2250 X 3375 at 125 pixels/inch. This gave me a printed image of 18″ X 27″.
How I Learned to Paper Piece with a Circle of Geese Quilt
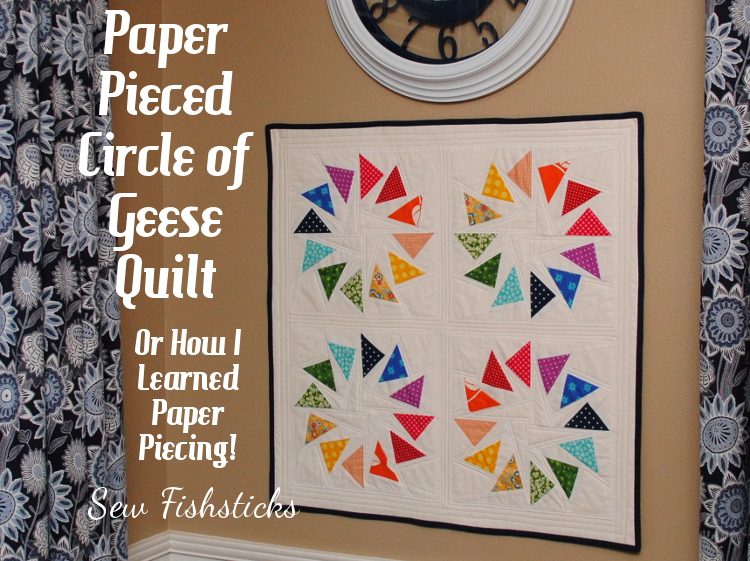 I learned paper-piecing, and I love it! AND, it’s not hard!! You should give it a try, too.
Last month, the folks at Soak Wash put together a quilter’s photo-a-day challenge on Instagram. I thought I would join in because I really like the motivation that a challenge offers, and while I don’t do a ton of quilting, I’ve really been enjoying it lately. (For tons of inspiration, check out all of the photos that were shared during the challenge by searching #soakphotochallenge on Instagram.)
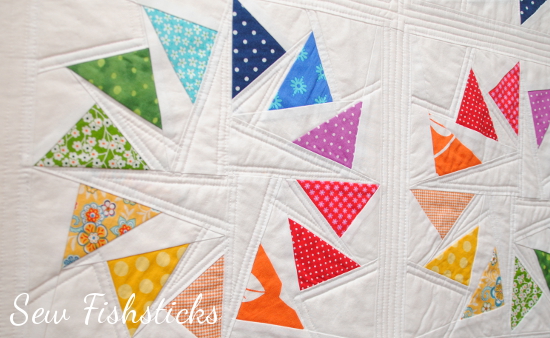
The first lesson teaches you how to sew a traditional courthouse steps block using basic paper piecing, and I was able to finish it really quickly. You can see my sweet little block above. Once I felt like I had a grasp on what paper piecing involved, I cheated a little and jumped ahead to lesson #4, and I made this!
From there, I pieced it all together, backed it and did some straight line quilting using my regular sewing machine.
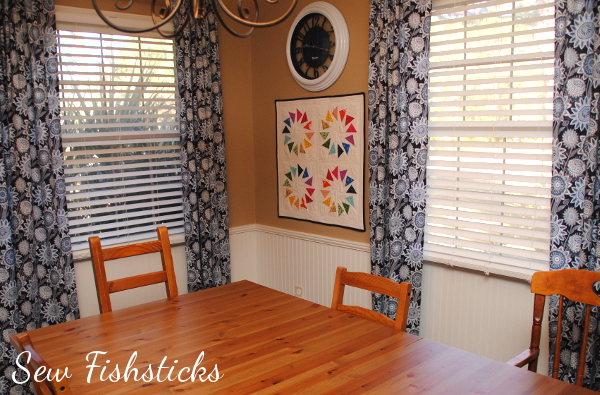
 I finished it with navy blue binding to match the clock above it and hung it up on the dining room wall.
Indygo Junction’s Newest Book: Dimensional Denim
 Amy Barickman of Indygo Junction recently released a new book called Dimensional Denim, and I got to check it out! Here’s what Amy says about the book, “I was inspired to create this book after I noticed the recent trend for textural home decor and accessory items. While trend shopping I saw more and more items that created texture and interest through fabric manipulation.” The creative ideas in the book combine beautifully with Indygo Junction’s Crossroads Denim, but the book includes some great ideas for recycling old blue jeans, too!
I’ve worked with Crossroads Denim before, and it’s wonderful for denim pants, skirts and jackets, but I hadn’t really thought about using it for home decor projects. My husband and I recently finished a bench that we upcycled from our youngest daughter’s old bed, and since it really needed a toss pillow, that’s what I chose to make!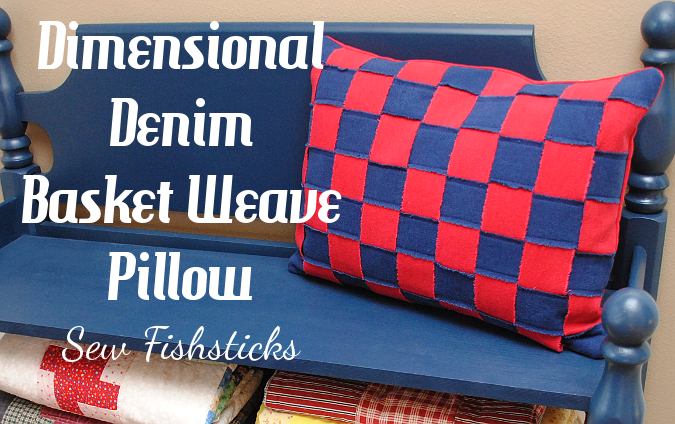 Because of the vintage look of the bench, I thought the Basket Weave Pillow would be just perfect here. I used two colors of Crossroads Denim – Fire Red and Weathered Indygo. (I sort of wish that I’d thrown in some French Vanilla, too, for even more color and interest. The book has instructions for making this pillow in two colors or three.)
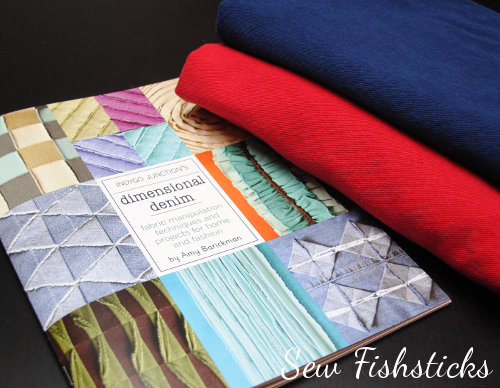 My favorite part of this project might have been tearing those strips. There’s something so satisfying about the ripping sound and that perfectly straight line that you get when you tear along the grain. I got a little carried away, and ended up with plenty of strips for a future project – maybe a vintage-y fabric checker board?
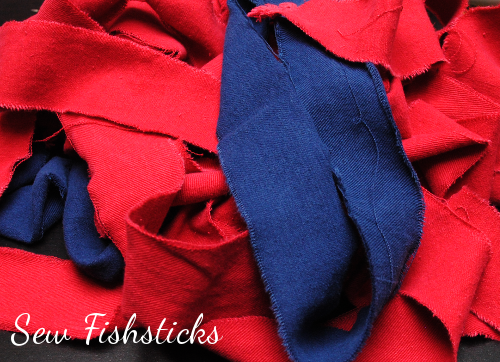 Amy says, “A simple woven design is probably one of the first craft projects most children make in school.” Whether or not you learned this technique in grade school, it really is easy enough that a child could do it, and the end product has a lovely dimensional look.
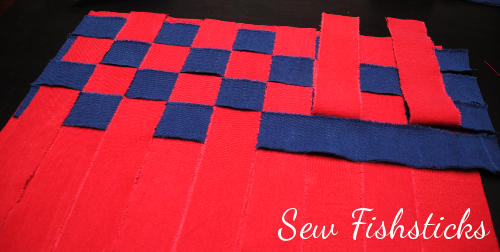 I did have to do a little math to come up with the right length and quantity of strips for my pillow since I was reusing an odd shaped one that I already had on hand. Amy includes all of the details for making a 19″ x 19″ pillow with three fabrics, so you don’t have to do math if you don’t want to. One of the things I really like about the book is that each section teaches you the technique first, followed by an actual project, but it also offers ideas for using that technique for your own projects. It sort of gives you freedom to expand on what you’ve learned!
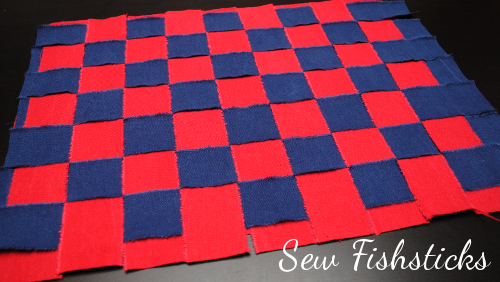 I modified the stitching on my pillow just a little bit because I was afraid my rough and tumble boys might just grab those woven strips and pull them apart. Instead of stitching the X pattern that Amy recommends on random blocks, I topstitched down the torn edges of all of my blue sections and left the red ones loose. Hopefully, those red loops won’t end up being home to too many little action figures. I’m sure that they’ll hold up beautifully, though, if they do!
I adore my finished pillow!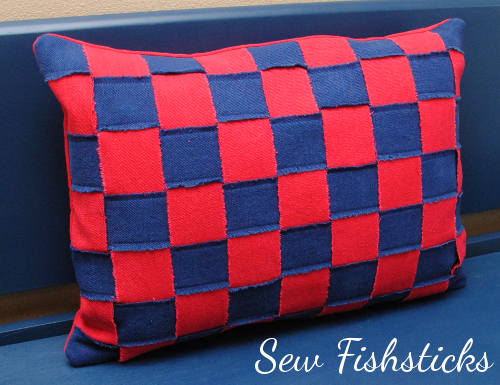
You can enter to win your own copy of Dimensional Denim by clicking over to the Indygo Junction blog, or you can grab a copy right now for 30% off using code DDBT14 at checkout! Be sure to follow along with the rest of the blog tour schedule below!
8/4 Indygo Junction
8/4 Kollabora
8/5 Amy Barickman
8/6 Fishsticks Designs
8/7 Cool2Craft
8/8 The Sewing Loft
8/11 Nancy Zieman
8/12 Skip to My Lou
8/13 Inventive Denim
8/14 Whipstitch
8/15 Coats and Clark
You can find Crossroads Denim at all of these online stores:
DIY Framed Fabric Bulletin Board
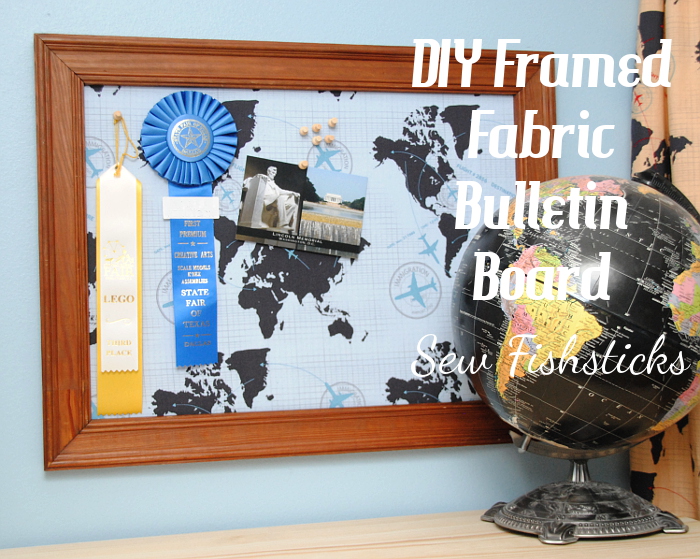 This is a simple and quick project that is as pretty as it is practical! It’s a great way to showcase a favorite piece of fabric, and you can make it any size you like. To see the one above in our newly re-decorated boys’ room, just click right here: All Around the World Boys’ Room.
The supply list:
a frame (We found ours at a thrift store.)
a piece of foam board slightly larger than the frame
a piece of fabric large enough to cover the the foam board and wrap around to the back
duct tape
picture hangers (I used D-ring hangers on ours.)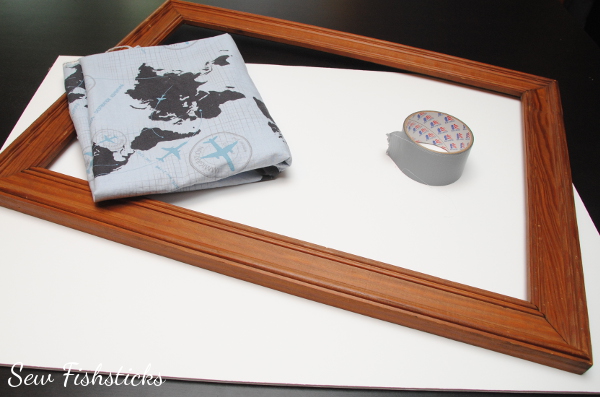 Slide your empty frame over the piece of foam board and shove the foam board tightly into one corner. One top and one side should be firmly up against the frame opening. Use a pencil to trace the other side and the bottom onto the the foam board. You’ll have to slide the pencil tip up under the edge of the frame opening and angle it slightly. You want the foam board to fit tightly into the frame so be sure to trace right up against the opening.
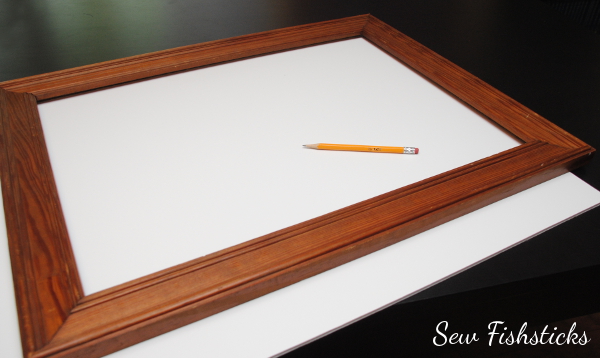 Remove the frame and use a craft knife and straight edge to cut the foam board along the lines you traced.
 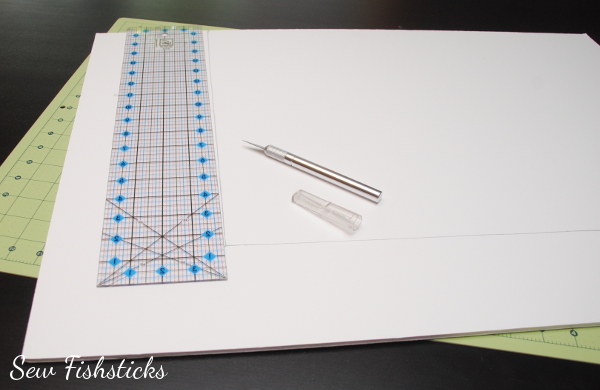 Once your foam board is cut, check the fit inside the back of the frame before moving on. The foam board should fit snugly inside the frame.
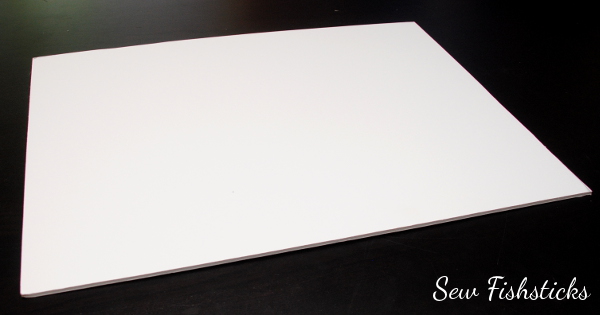 Trim your fabric so that you have at least a few inches to fold up and over on each side of your foam board piece.
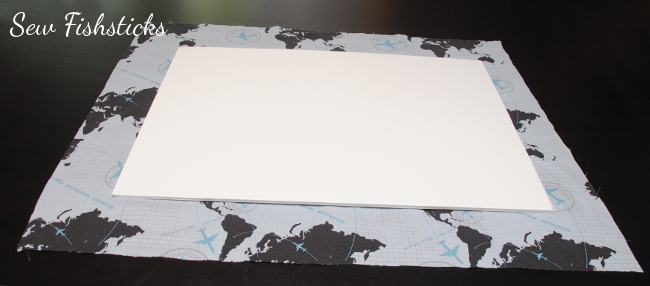 Spread your fabric out in front of you with the wrong side up. Center the cut piece of foam board on top of the fabric. Wrap one long edge up over the foam board and duct tape it in place. (I know it seems silly to use duct tape, but it works! And, it allows you to easily switch out the fabric whenever you’d like.) Wrap the other long edge up and tape it, too.
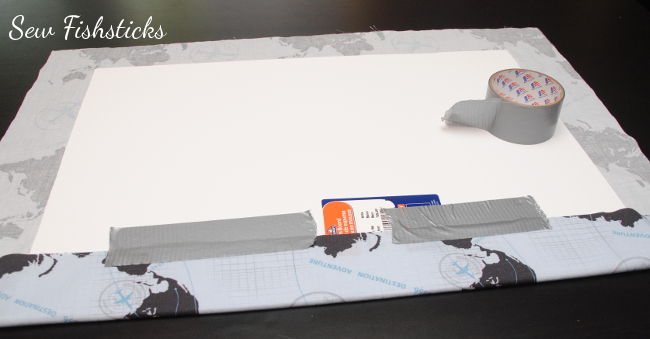 Wrap the short ends up just like you would wrap a gift and tape them in place, as well.
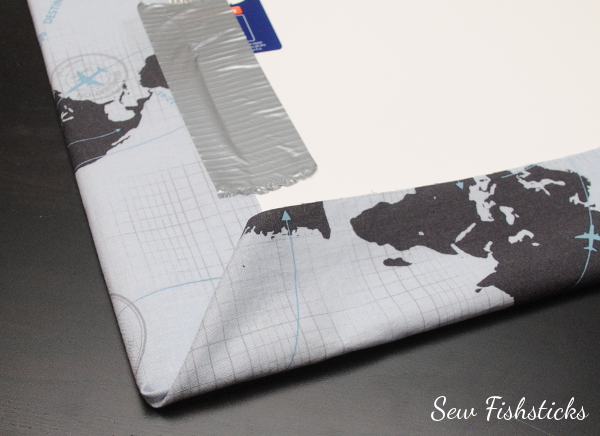 Make sure that your fabric is taped securely.
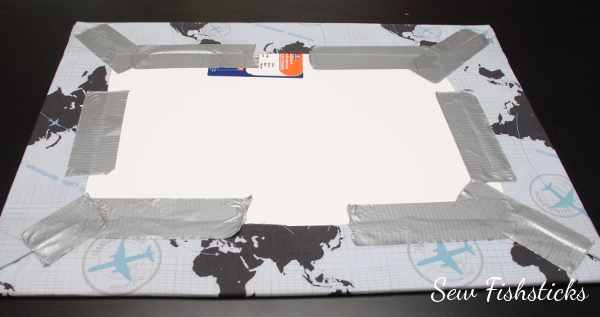 Press the fabric-wrapped foam board into the back of the frame. Attach hangers. Hang it up on the wall and display your treasures!
 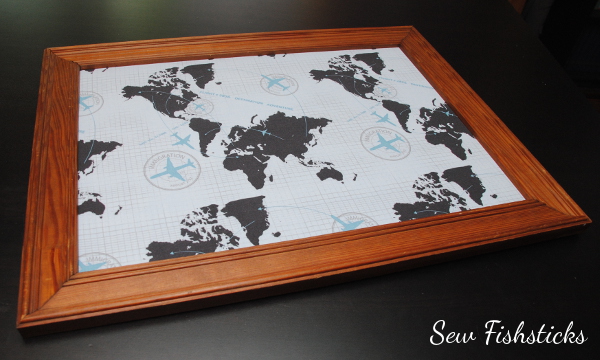 Do note that if you pin and unpin things on this board often, you may have to replace the foam board since the holes don’t self-heal. These bulletin boards have worked really well in our home, though, and I love how easy they are to switch out whenever the urge strikes!


