Handmade Christmas
“Vintage” Doll Quilt Tutorial for Bake, Craft, Sew
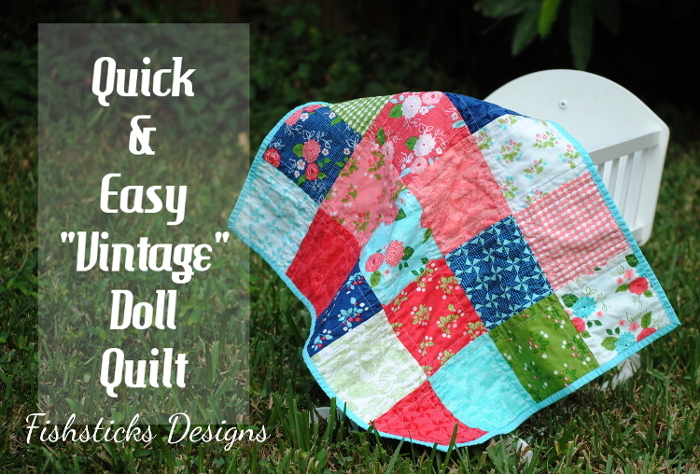 Good morning, sewing friends! I’m guest posting over at Skip to my Lou today with a tutorial for a sweet little quilt for your little one’s favorite doll. Check it out right here: The Quick & Easy “Vintage” Doll Quilt.
Keychain Gift Card Wallet Tutorial & a Huge Giveaway!
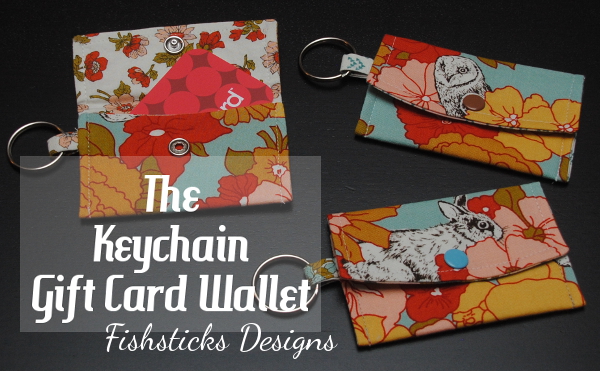
Hello, there! I’m joining in the Bake, Craft, Sew & Decorate series over at Skip to My Lou today! This is my fourth year joining in the holiday creativity, and this year I’ve got a quick, fun and practical gift tutorial for you – The Keychain Gift Card Wallet. Continue reading
Little Embroidered Hoop Ornaments ~ A Tutorial
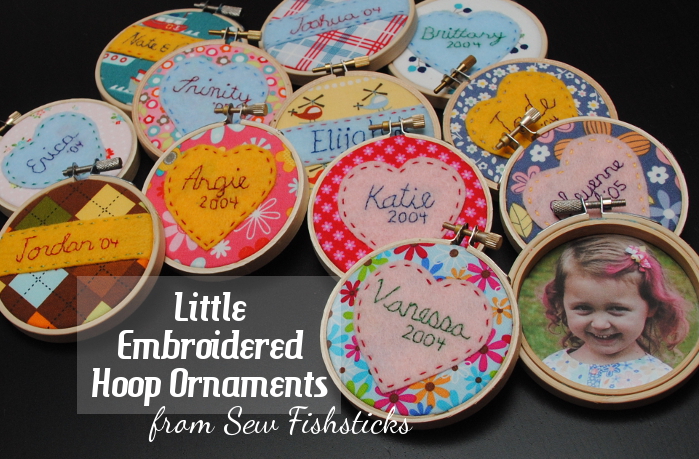 This is my favorite of the projects that I completed this Christmas because these ornaments hold such special meaning for our family! I’m so excited to share it with you! A little over eleven years ago, my husband and I attended an orientation meeting for prospective foster parents here in Florida. We had four children at the time, ranging in age from 13 to 4. Since Florida only allows foster families to have a total of five children in their homes, we wondered if we really could make a difference. We felt like God was calling us to do this, though, so we began the process to become a foster family. We were licensed in June of 2004, and our first placement – a newborn baby girl, straight from the hospital – arrived a day later. That little one stayed with us just a few months, but she became a forever part of our family’s history. She was followed by twelve more little ones, all age 6 and under who came into our home for long and short periods of time, each one finding a forever place in our hearts as we poured ourselves into their lives and their families’ lives while working together to support them through reunification or placement with relatives. In November of 2006, we said good-bye to our last foster daughter, just weeks before we left for a new job in Texas.
Jethro the Christmas Elf
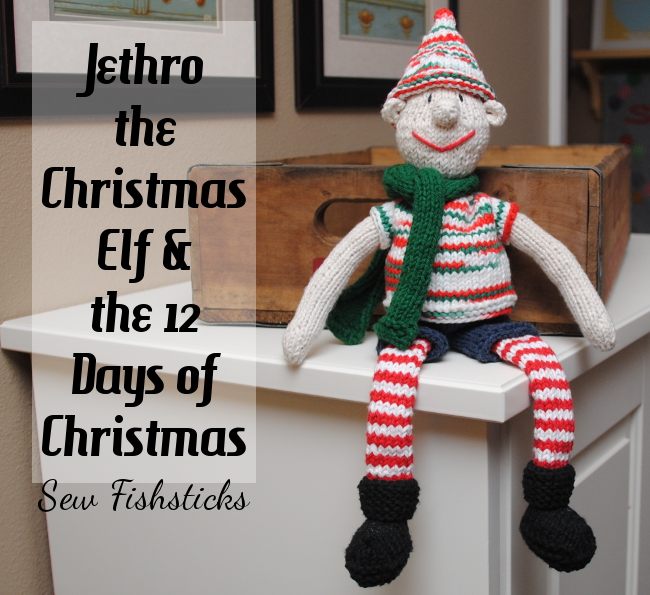 I loved the idea of surprising my two little guys every morning with something sort of Elf-on-the-Shelf-style, but more fun and less naughty. I’d intended to start on December 1st, but that just didn’t happen. Instead, I went with inspiration from the 12 Days of Christmas. Since we’re only through Day 5, though, and I’m totally making this up as I go along, I’ll plan to share the whole 12 days with you next year. In the meantime, here’s a peek at what Jethro’s been doing here at our house.
A Christmas Quilt & the Fastest Tree Skirt Ever
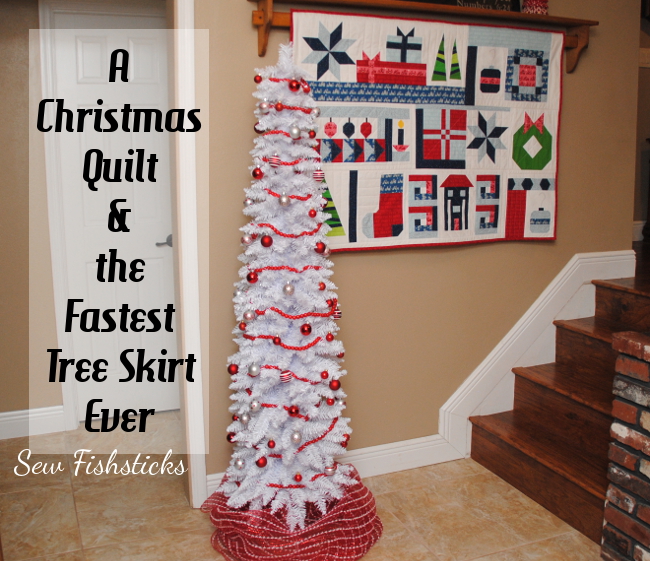 How are the holidays going at your house? We’ve been enjoying our traditional advent calendar activities, visiting with friends, cooking, crafting, playing … all the things that I want our Christmas memories to be made of. I posted a picture on Instagram a few days ago of a fun (and messy!) afternoon spent decorating some very yummy but not very pretty sugar cookies hashtagged #notpinterestworthy, and a sweet friend reminded me that life is not Pinterest-worthy! Before I move on to my crafts for today, I forward that reminder on to you. Have fun, make a mess, and enjoy this Christmas season!
Looped Fabric Christmas Tree~A Tutorial
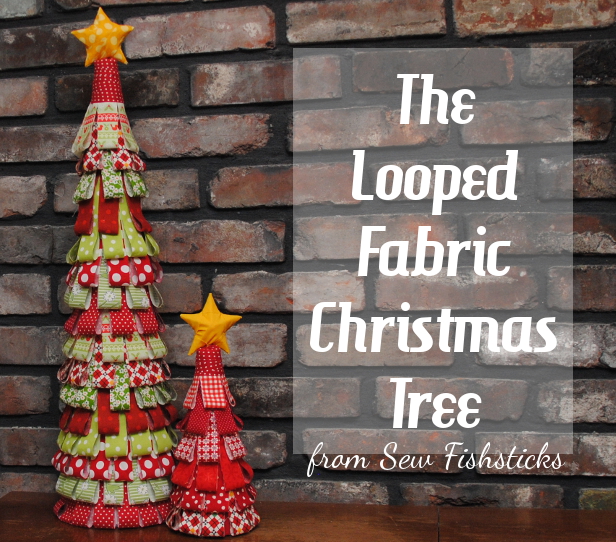 Have you ever run across something in a store, picked it up and turned it over and thought that you could surely make it yourself? I know most of you are crafty people, so it probably happens to you often, right? This project was the result of one of those moments for me! The tree that I saw in the store was made with burlap, and while I realize that many of you probably love burlap, I’m just not a big fan. I figured I could make it work with cotton quilting fabric, though, so I headed home where I knew I had a giant styrofoam cone in the garage. (I think I actually had plans to turn it into a tree of some sort a few years ago.) I went right to work, and I adore the result enough that I thought I would share it with you!
Fabric-Wrapped Decor Balls~A Tutorial
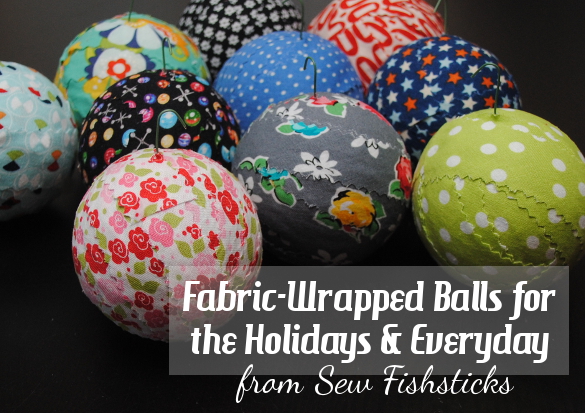 These fabric-wrapped balls are super-easy to make, and they work beautifully as Christmas tree ornaments or as everyday decor! There are a number of tutorials out there already, but I tried a few, and I just wasn’t thrilled with the results. I wanted the fabric to sit flush up against the ball without having to glue the entire strip down. The trick? Cut your fabric on the bias! When you cut on the bias, you get just enough stretch to allow the fabric to fit around the curve on the ball, and you only have to glue the ends down. Ready for the quick tutorial?
Lego Travel Bag~A Tutorial
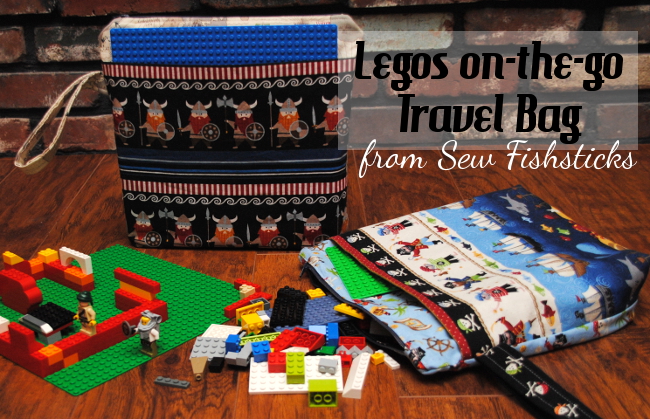
My second Handmade Holiday idea for 2014 is this Lego on-the-go Travel Bag! This tutorial originally appeared on Today’s Creative Blog in July of 2013 as part of their Celebrate Summer Series, but it’s a great gift idea, too … says the mom who has stepped on a billion and one Legos in the middle of the night. It’s a good thing to give those little things their own special storage space!
Chalkboard Art~A Tutorial
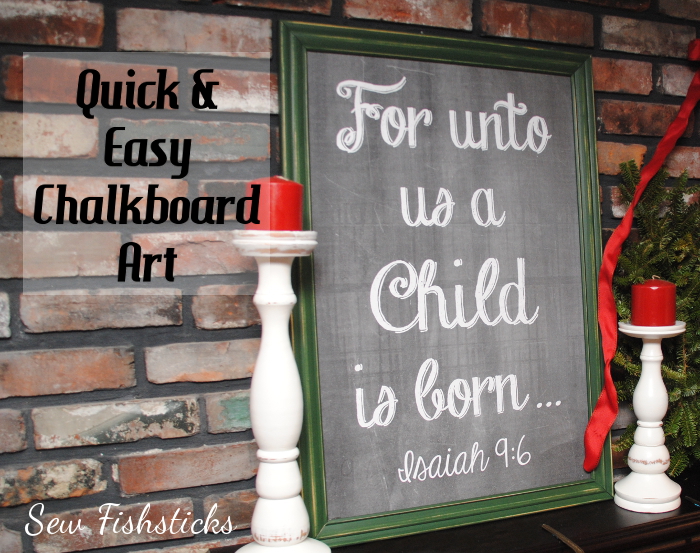 I love sharing handmade holiday ideas with you each year, and I’m excited that I’m actually starting early in the month this time! Some of the ideas that I’ll share will include complete tutorials, some will be a little less structured (like today’s) and give you some ideas while pointing you to other tutorials or patterns.
I have wanted a giant piece of artwork with Isaiah 9:6 for our fireplace mantel for the last few Christmases, and this year we made one! Oh, and it was really fast, really easy and fairly inexpensive! I started with the free chalkboard background from How to Nest for Less. Erin suggests only printing it as an 8X10, but I found that it worked beautifully for a much larger print. I used Gimp, which is a free downloadable image manipulation software, and I cropped the background to 2250 X 3375 at 125 pixels/inch. This gave me a printed image of 18″ X 27″.
The Jungle Jalopy Zippered Pouch Tutorial & a Huge Giveaway!
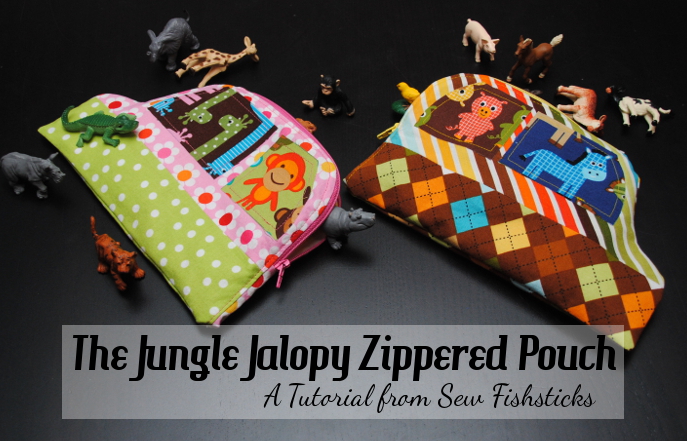 I’m over at Skip My Lou today with a brand new gift tutorial as a part of this year’s edition of the Bake, Craft, Sew & Crochet Along! Just click right here to find the Jungle Jalopy Zippered Pouch Tutorial. Read on for your chance to win a beautiful new Babylock Sewing Machine!

This is one AMAZING giveaway! She is a beauty and her name is Rachel.
